*To give you an idea of how I build a custom 1911, here are a few pictures of my work on the bench. (click on any photo to enlarge)
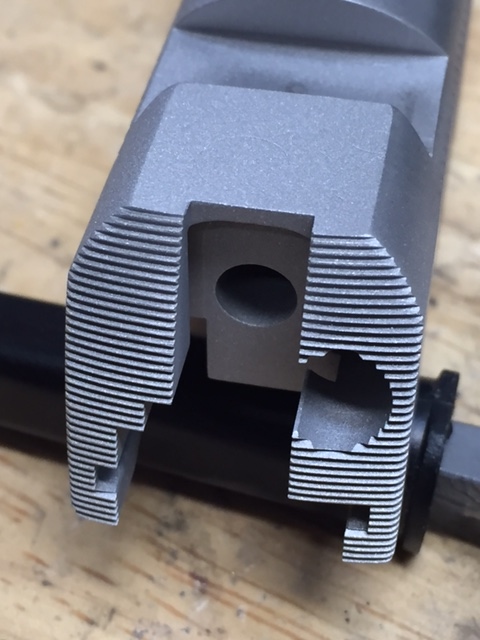
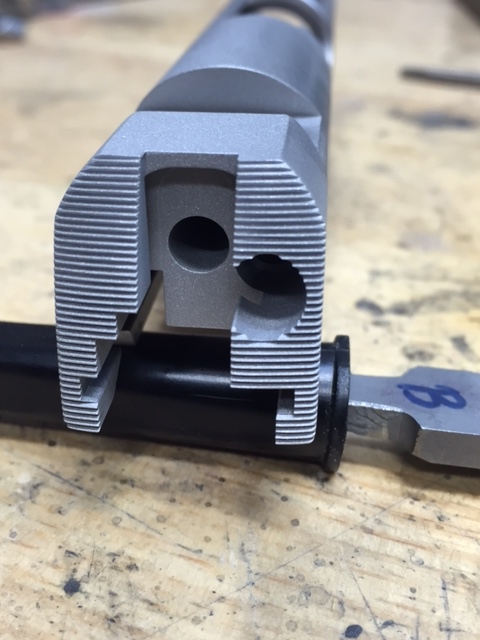
40 lpi hand cut serrations on the back of the slide.
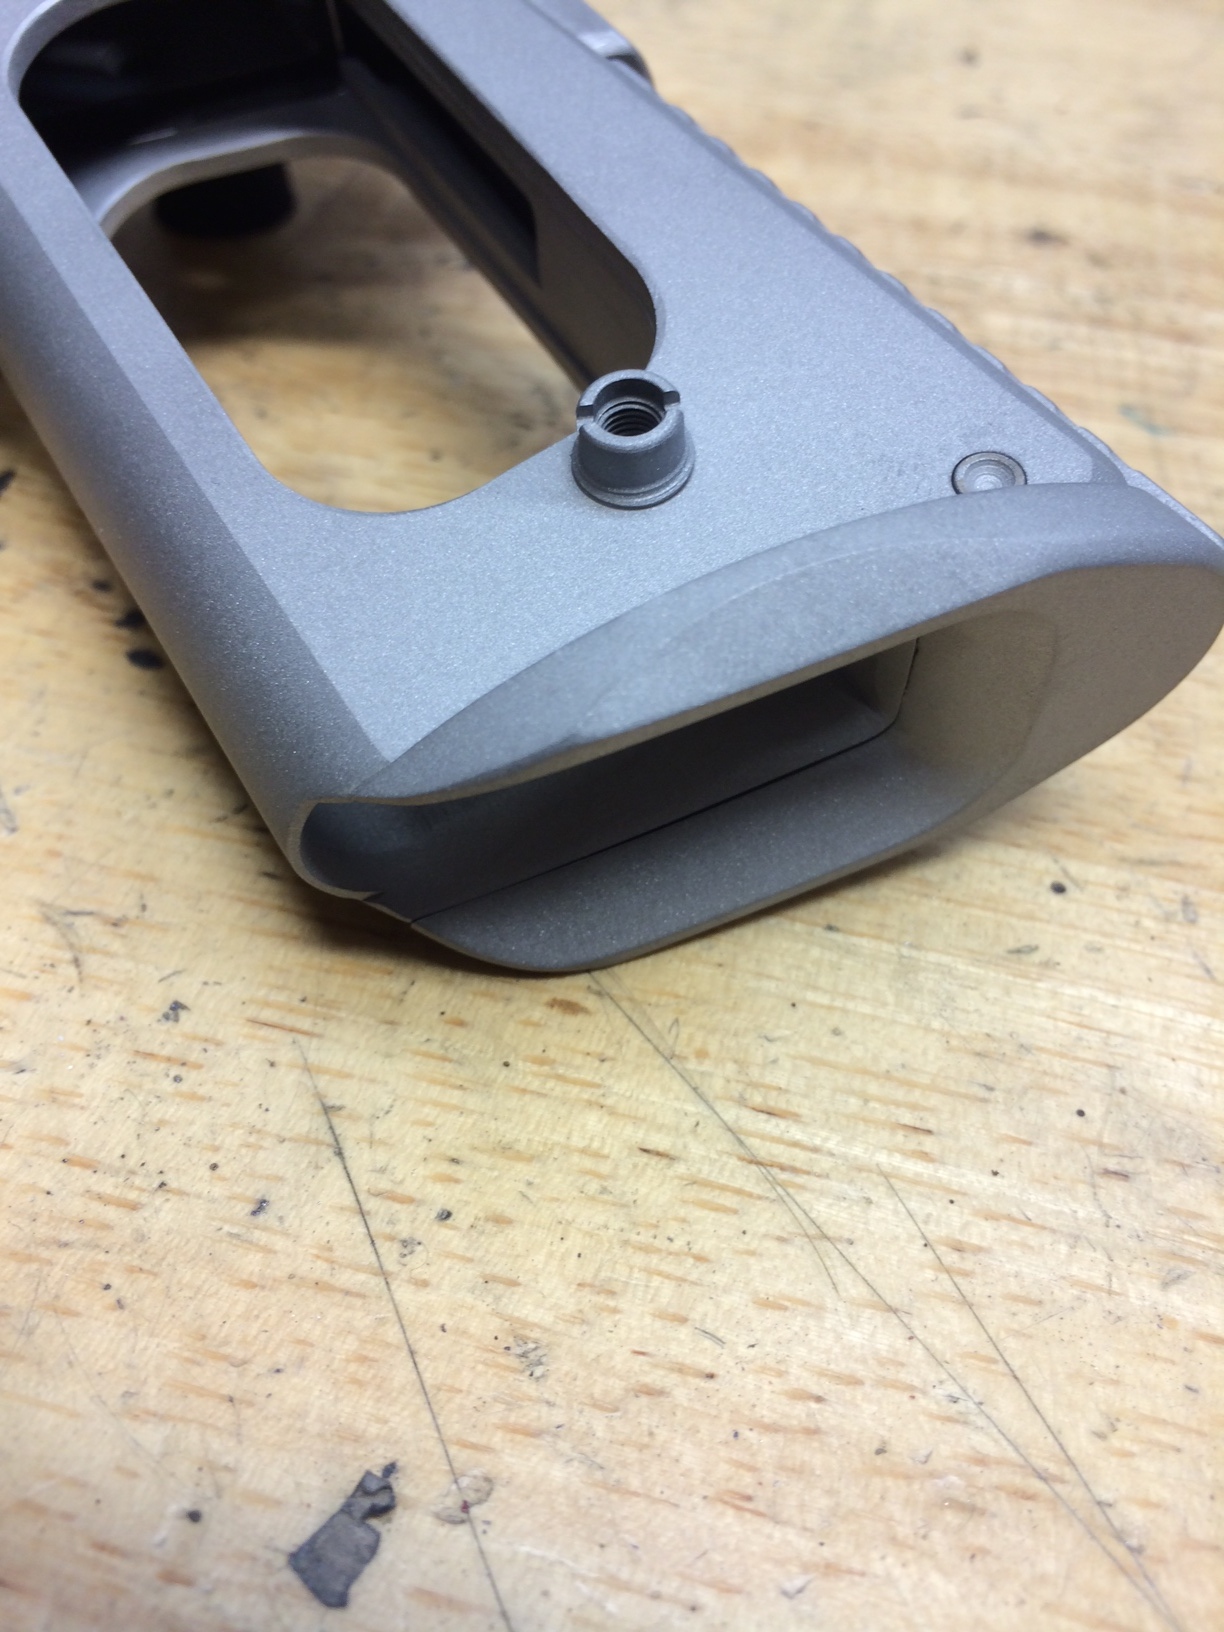
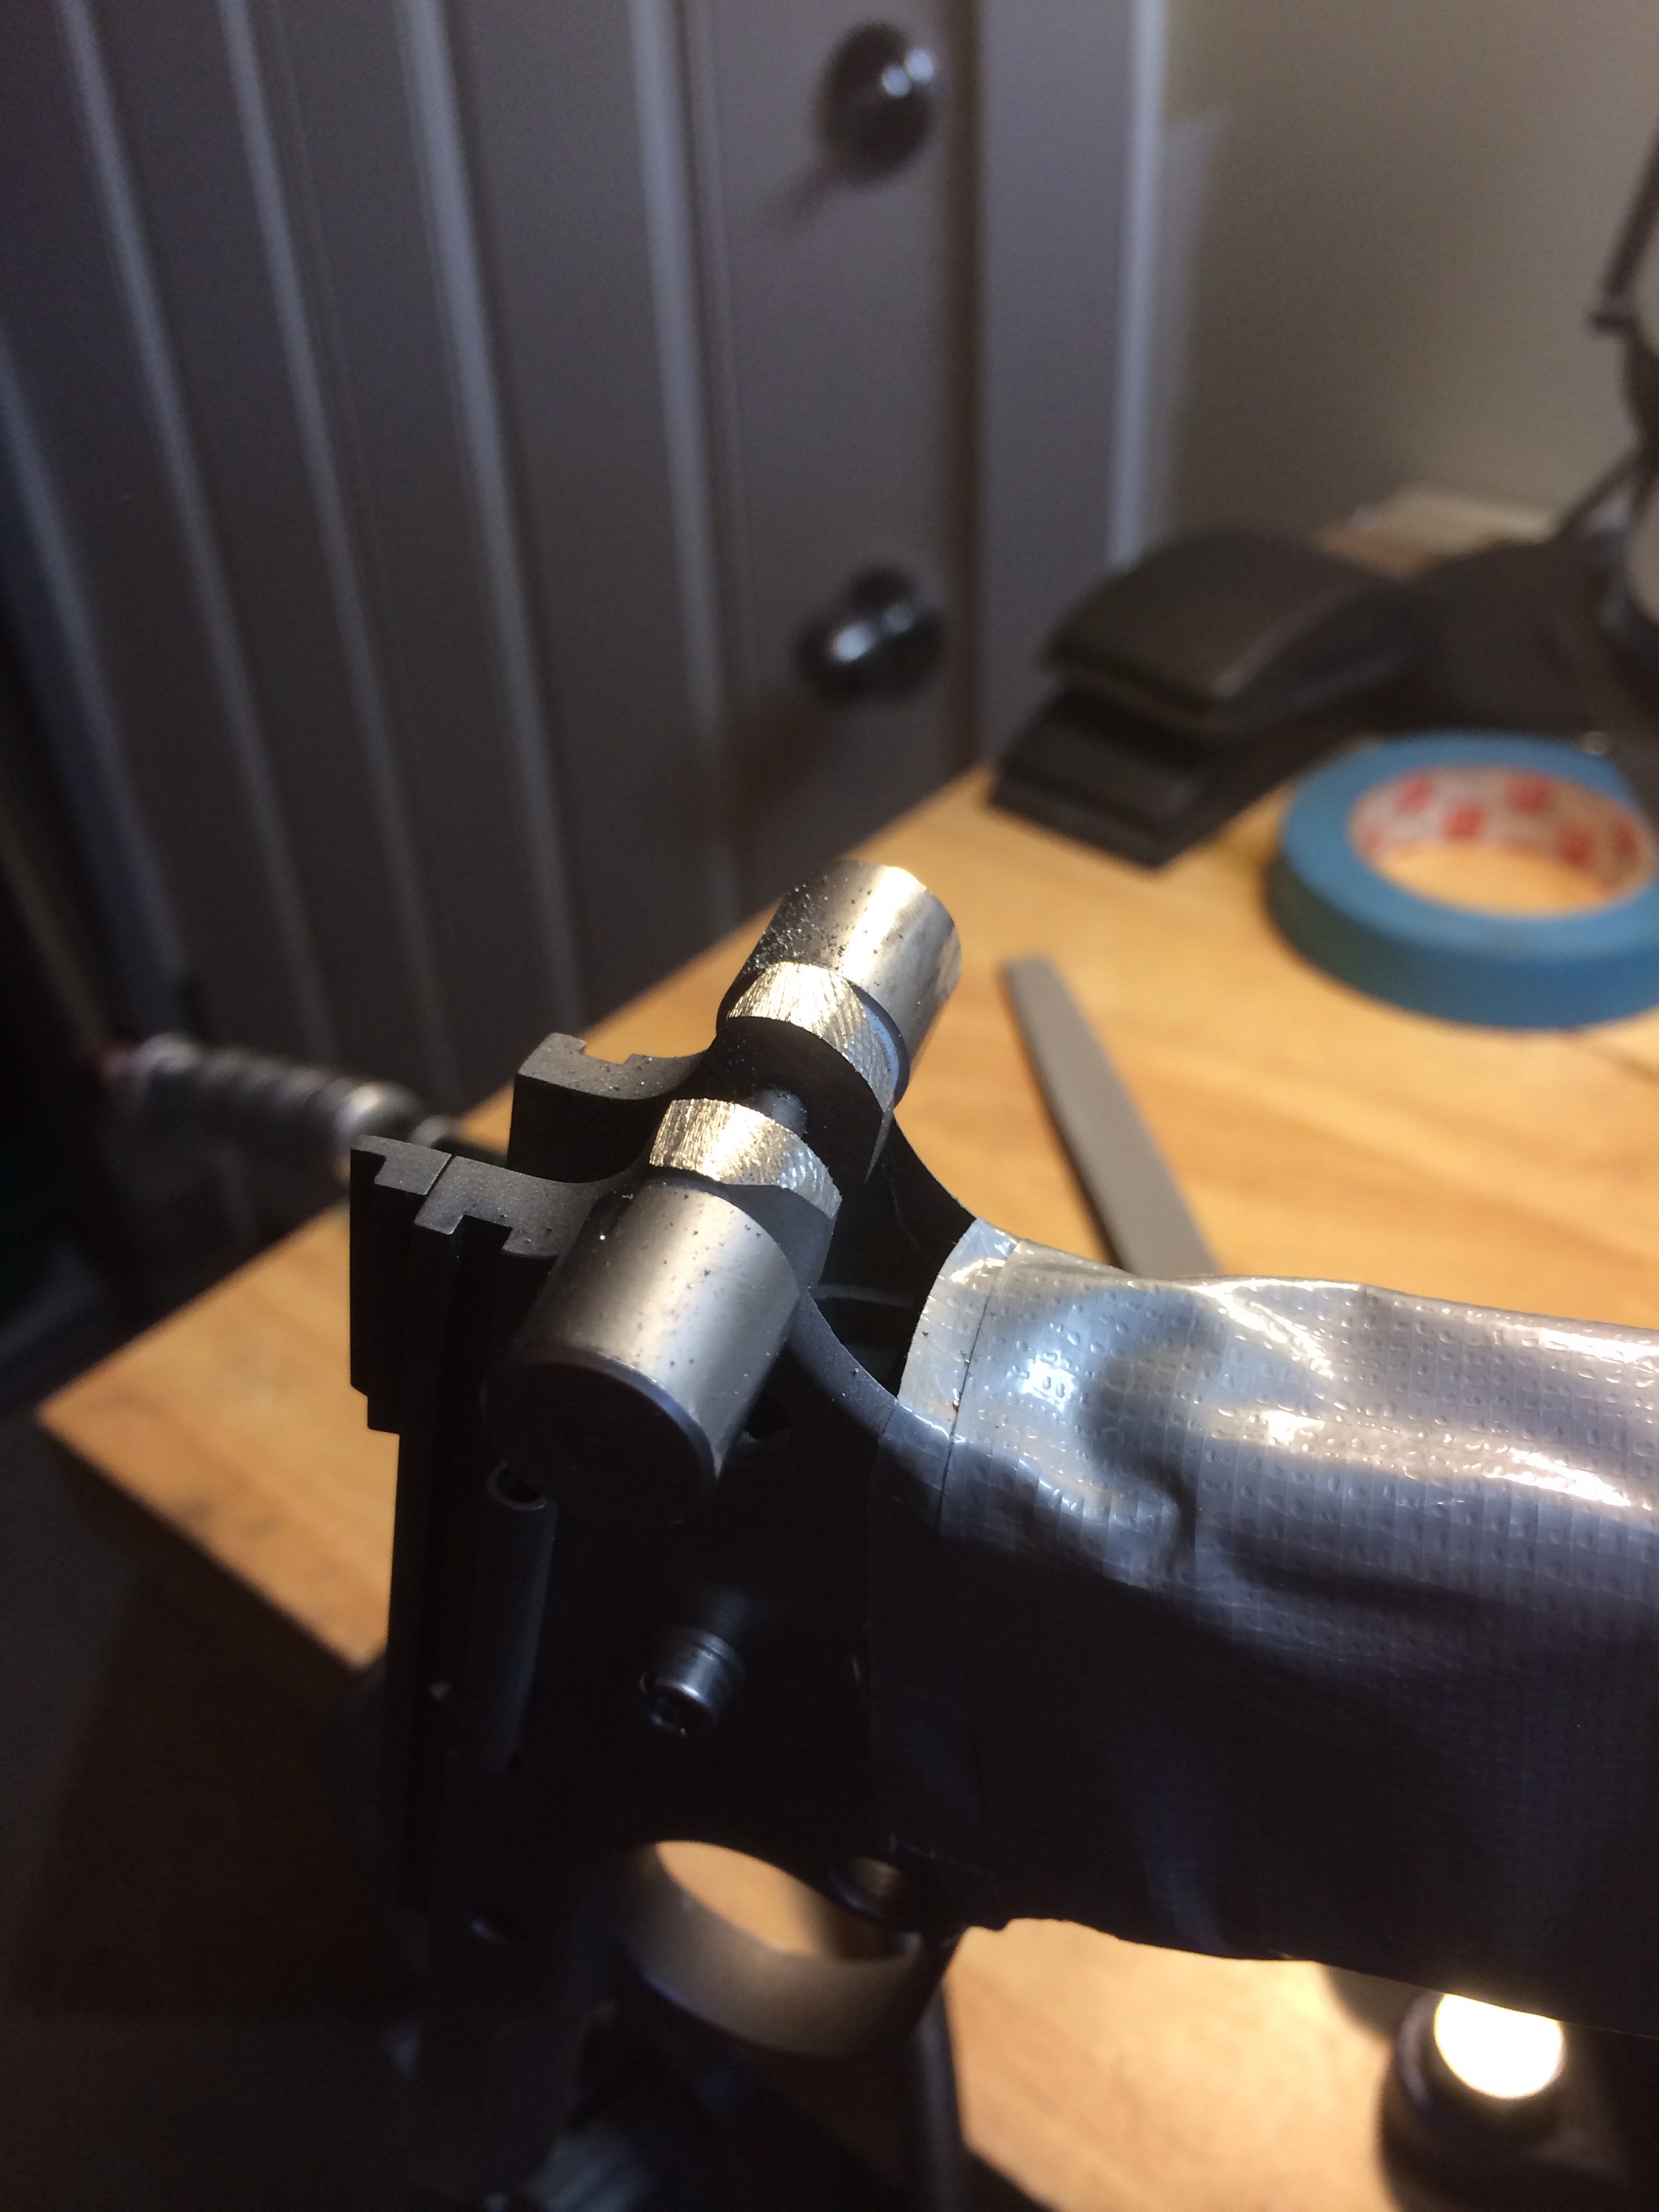
Here is a scalloped mainspring housing with the pocket machined out and drilled to accept a steel rod for a lanyard attachment.
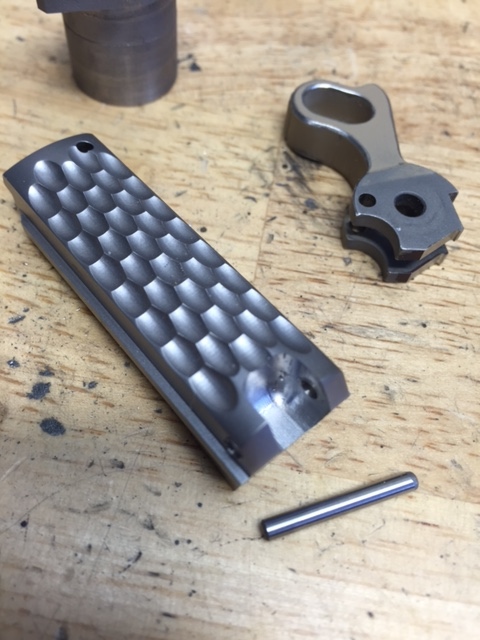
Cleaning up and blending the butt end and dehorning the pocket. Now its ready for the steel rod that will be bonded in place.
The rod is now installed. This makes for a very good lanyard attachment method for a duty weapon.
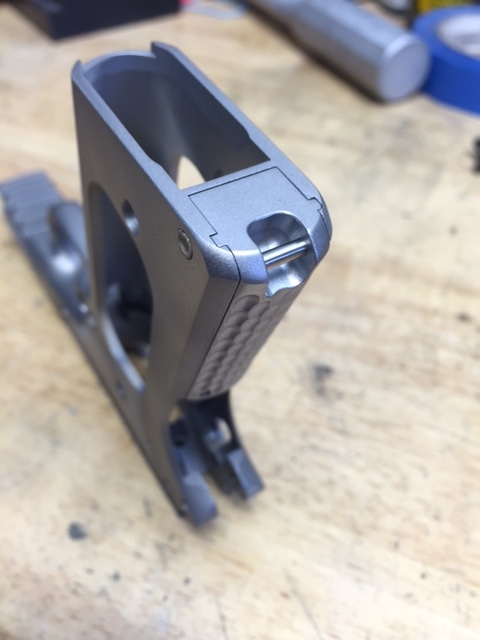
Blending the back of the slide.
Now the back of the slide is seamless.
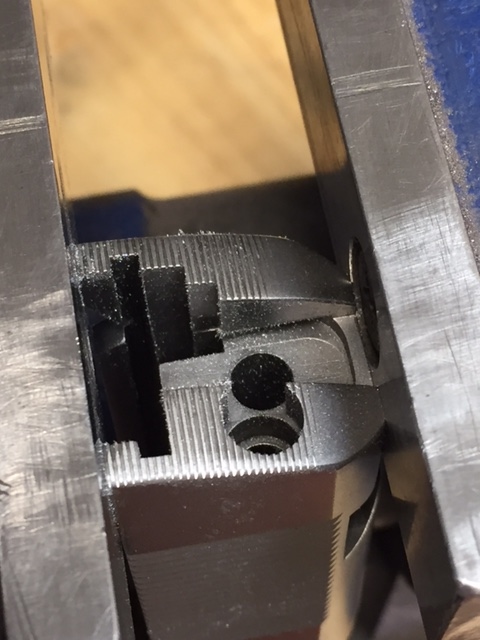
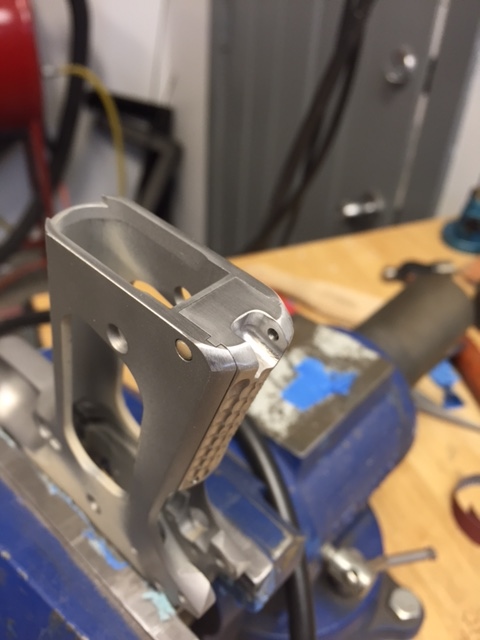
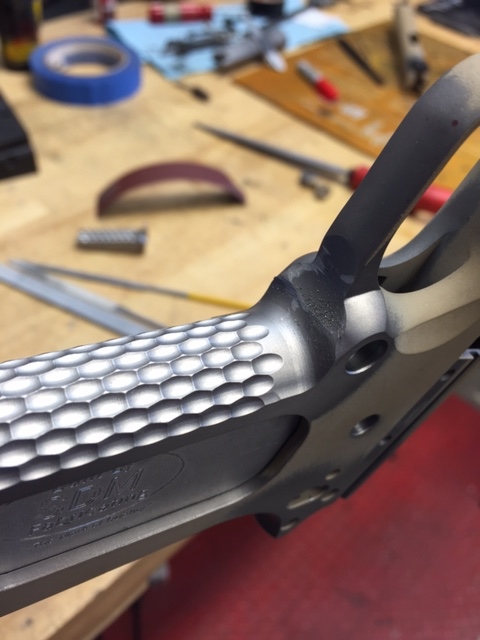
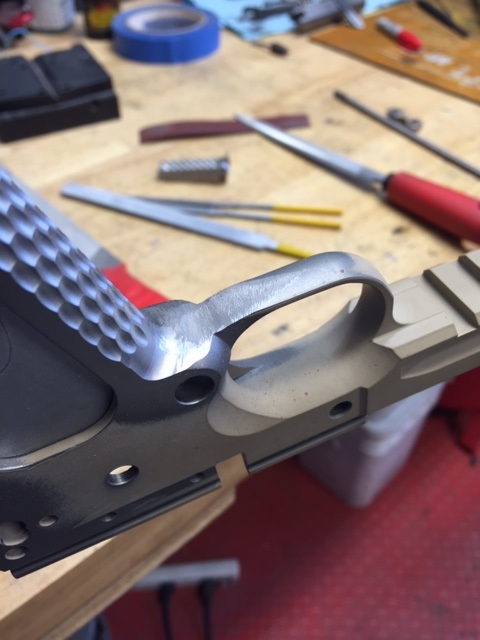
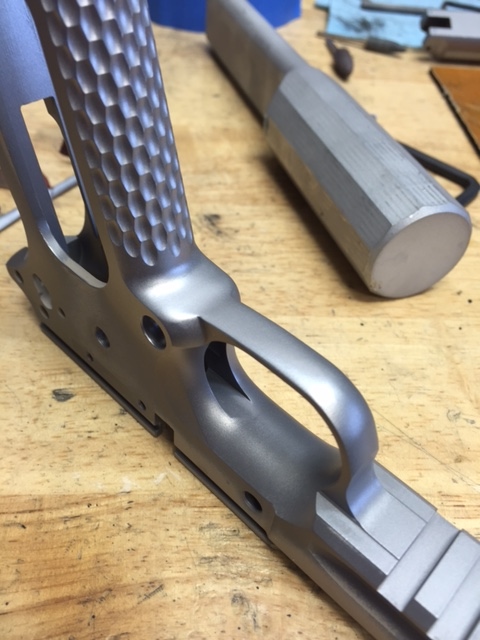
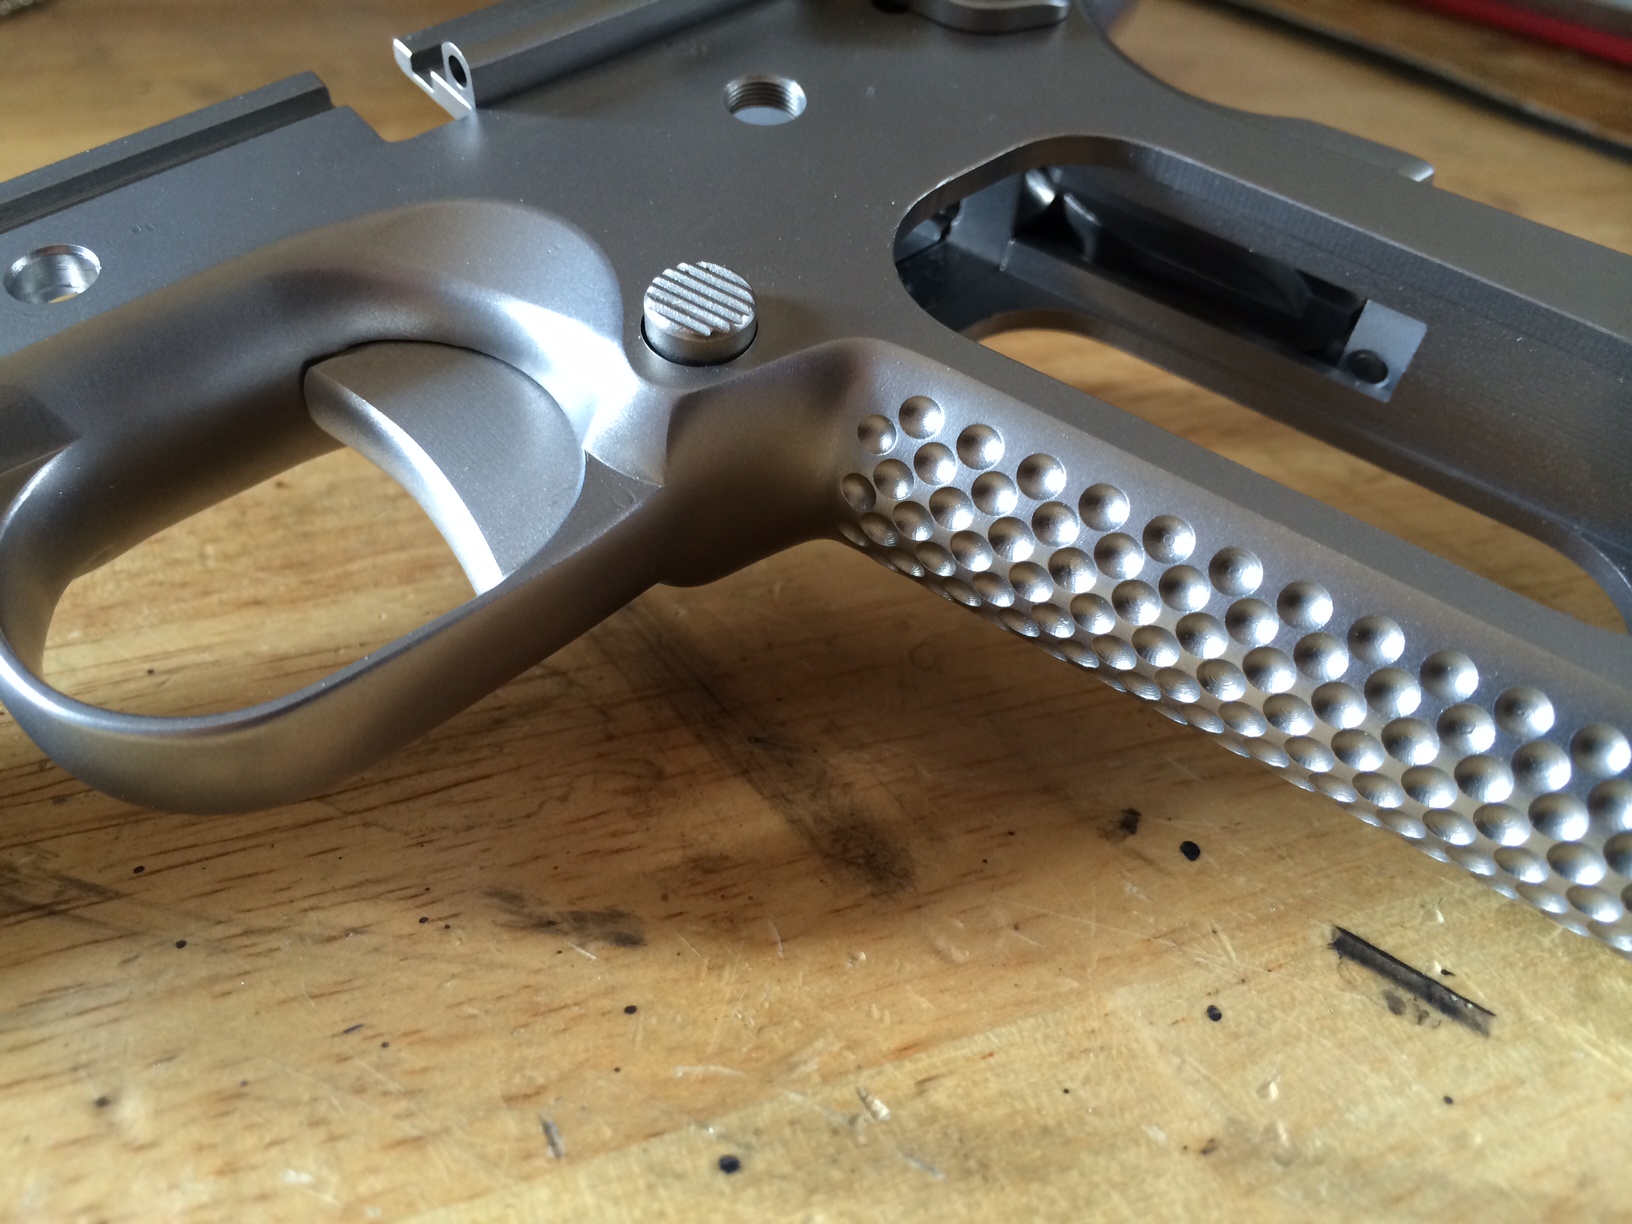
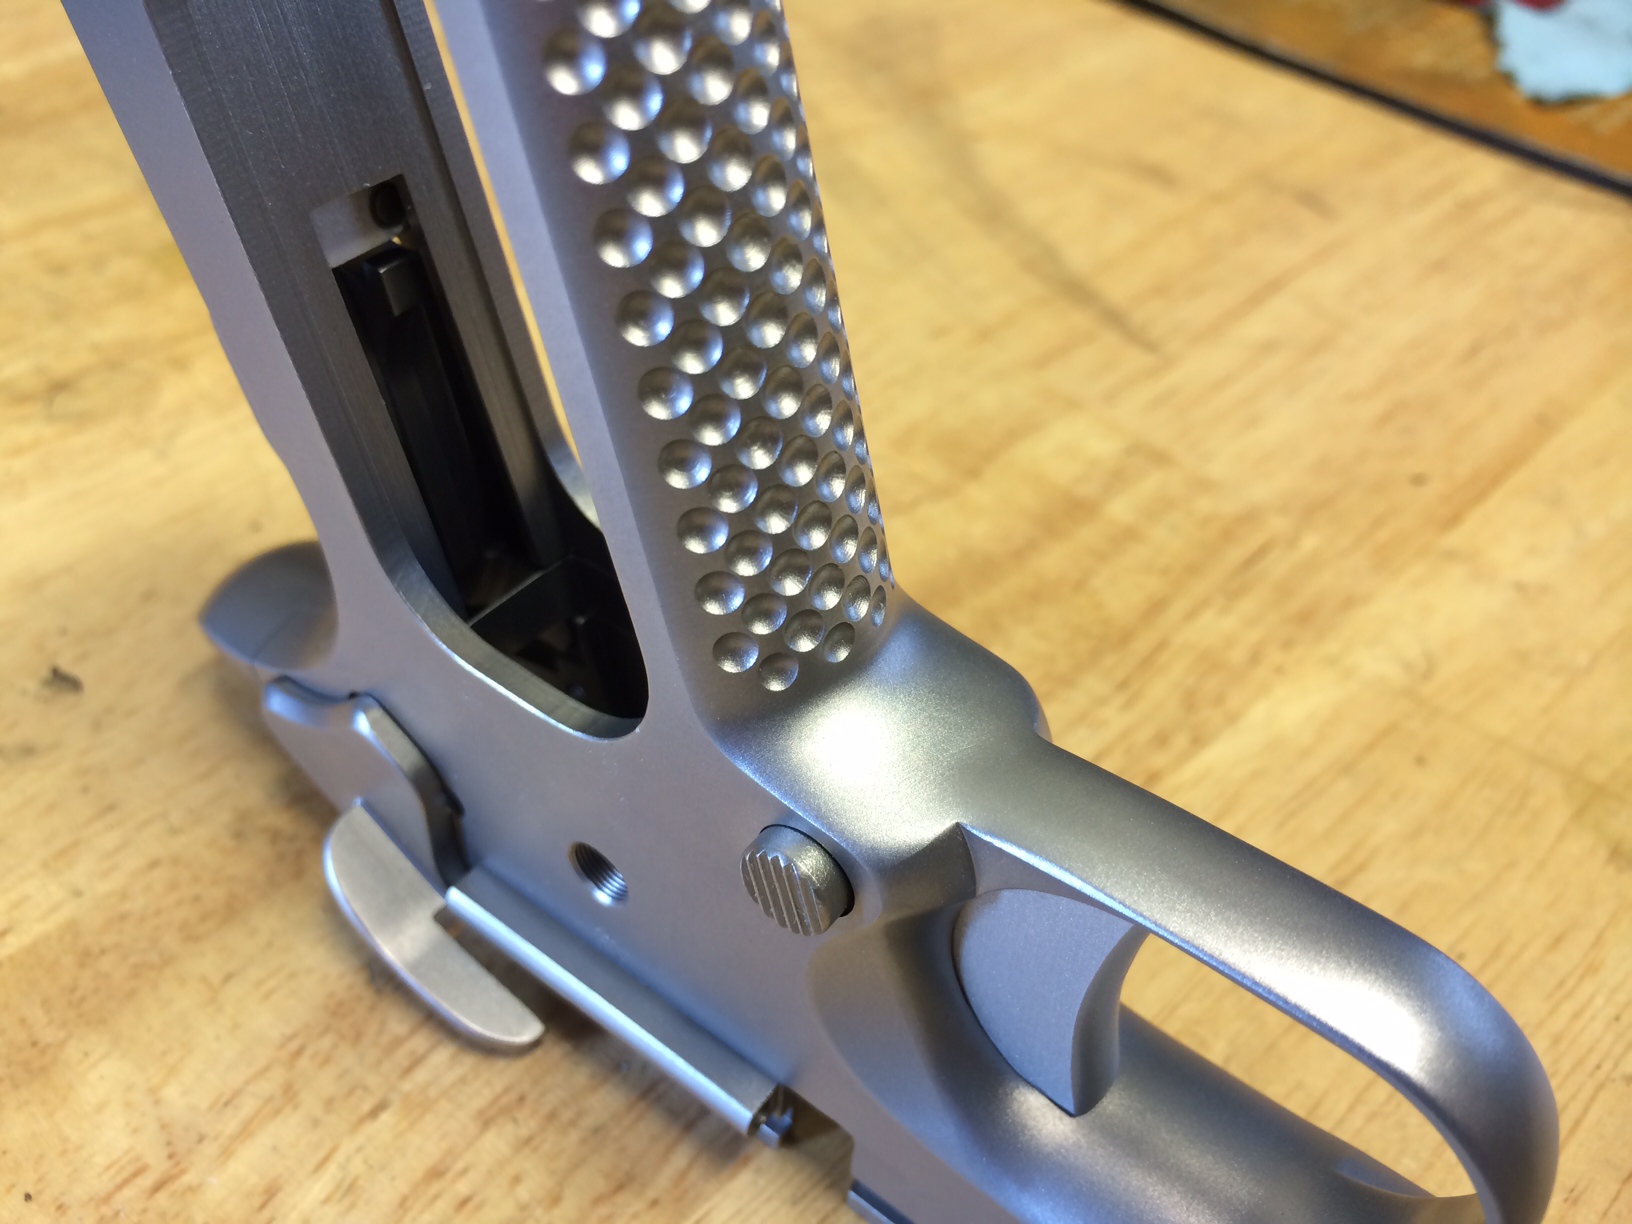
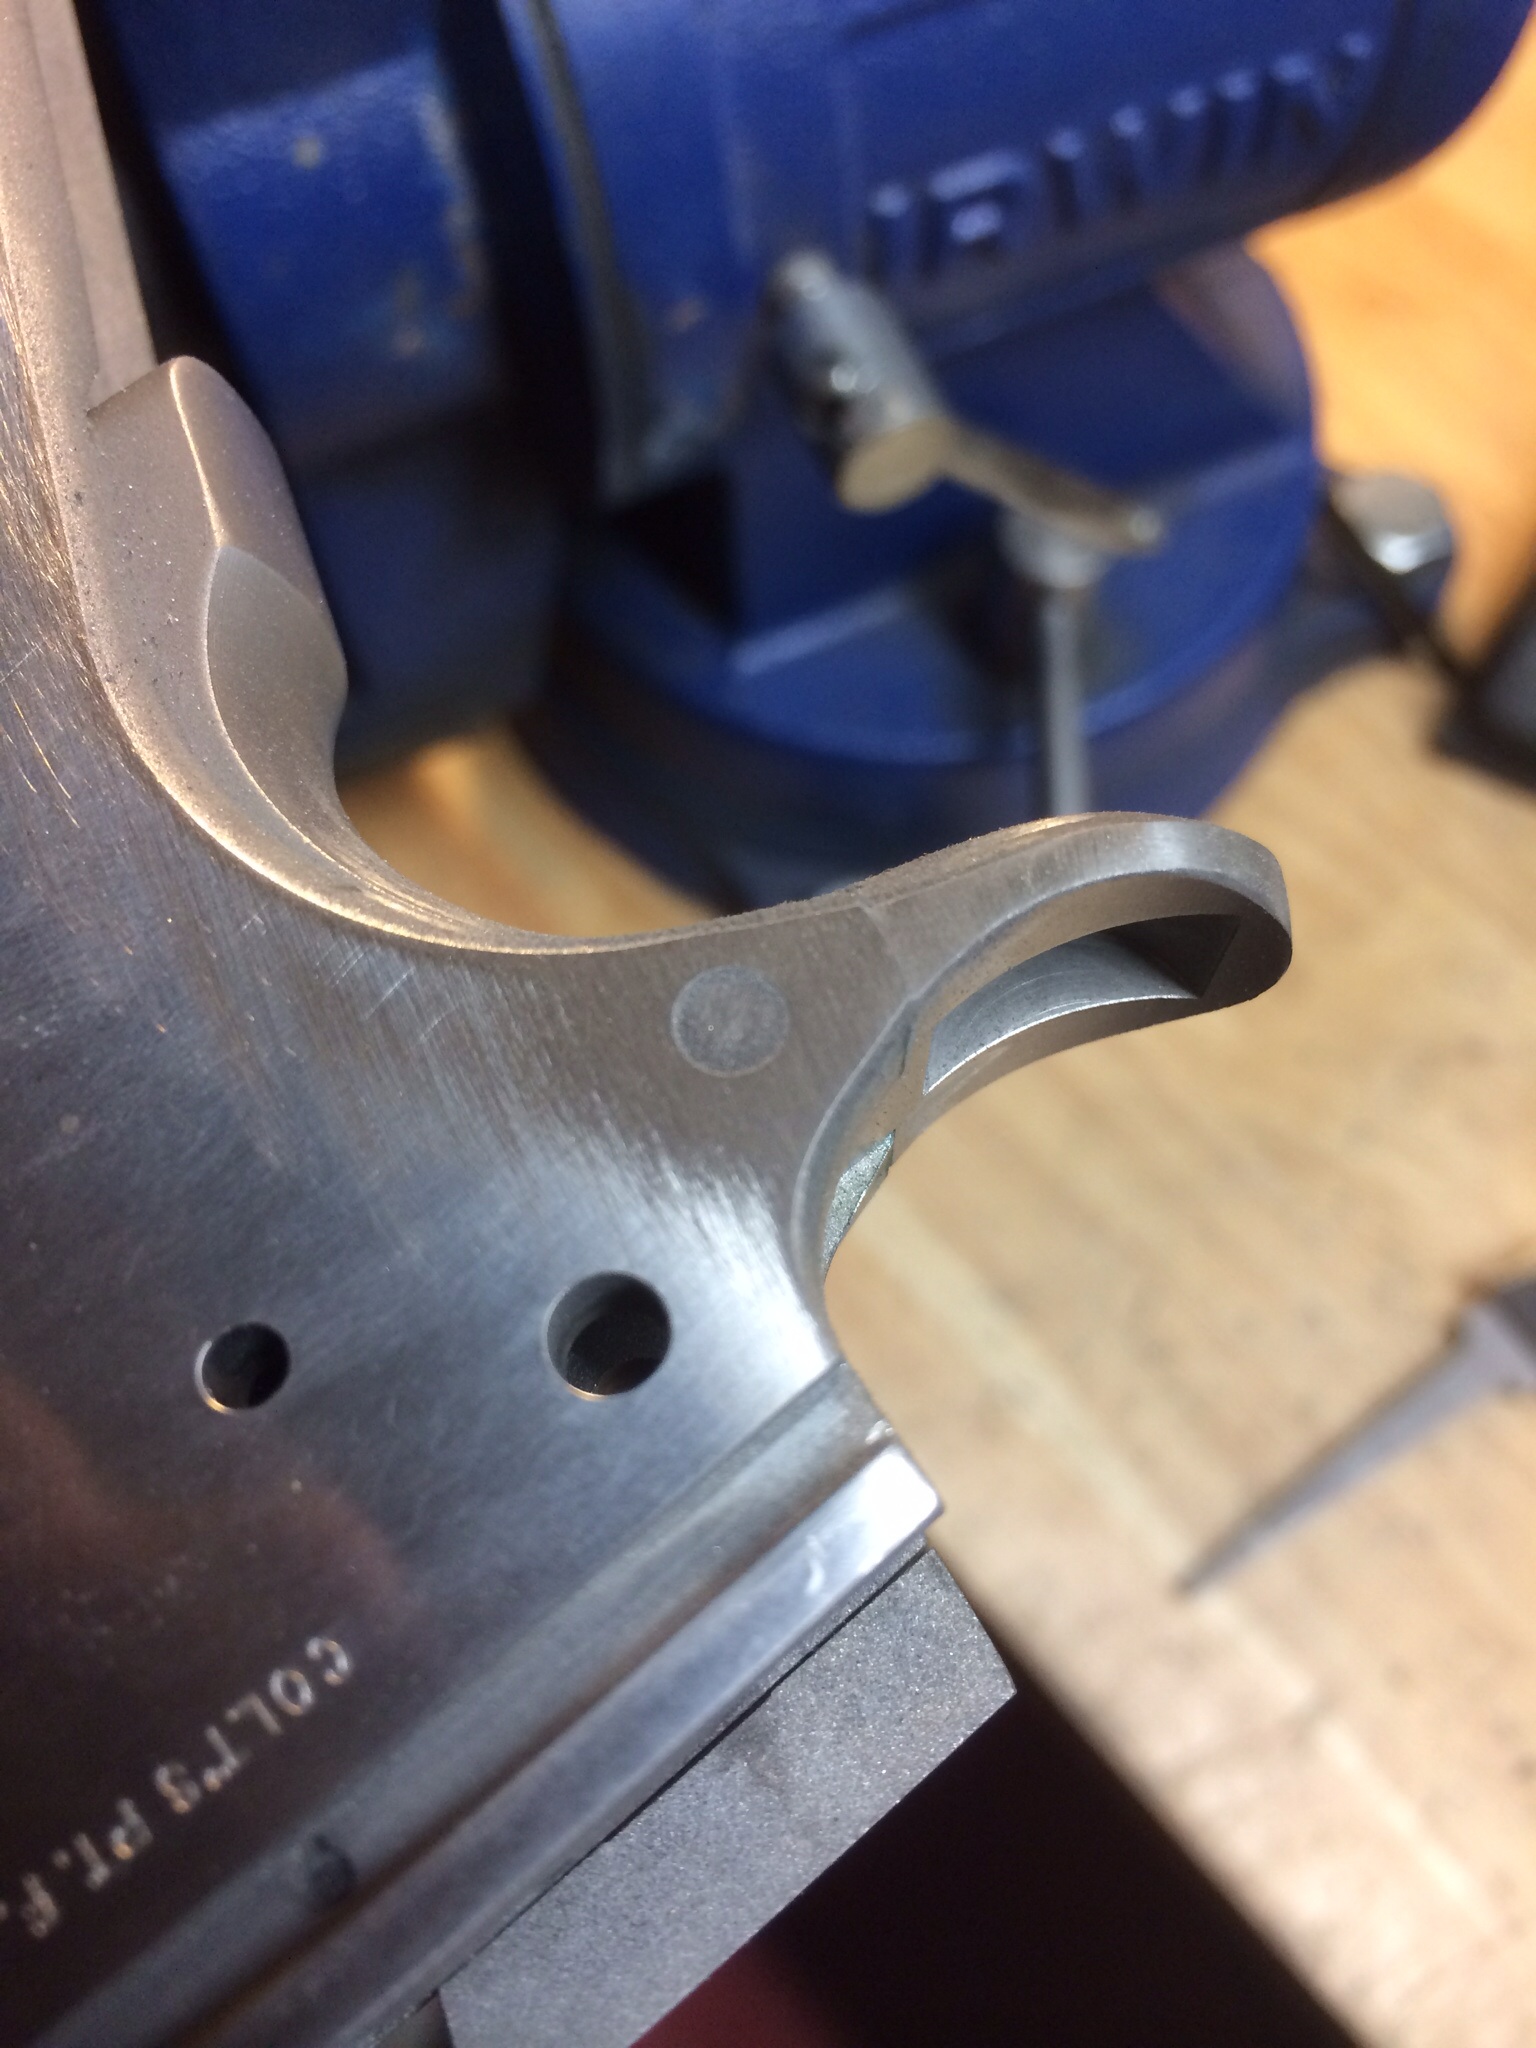
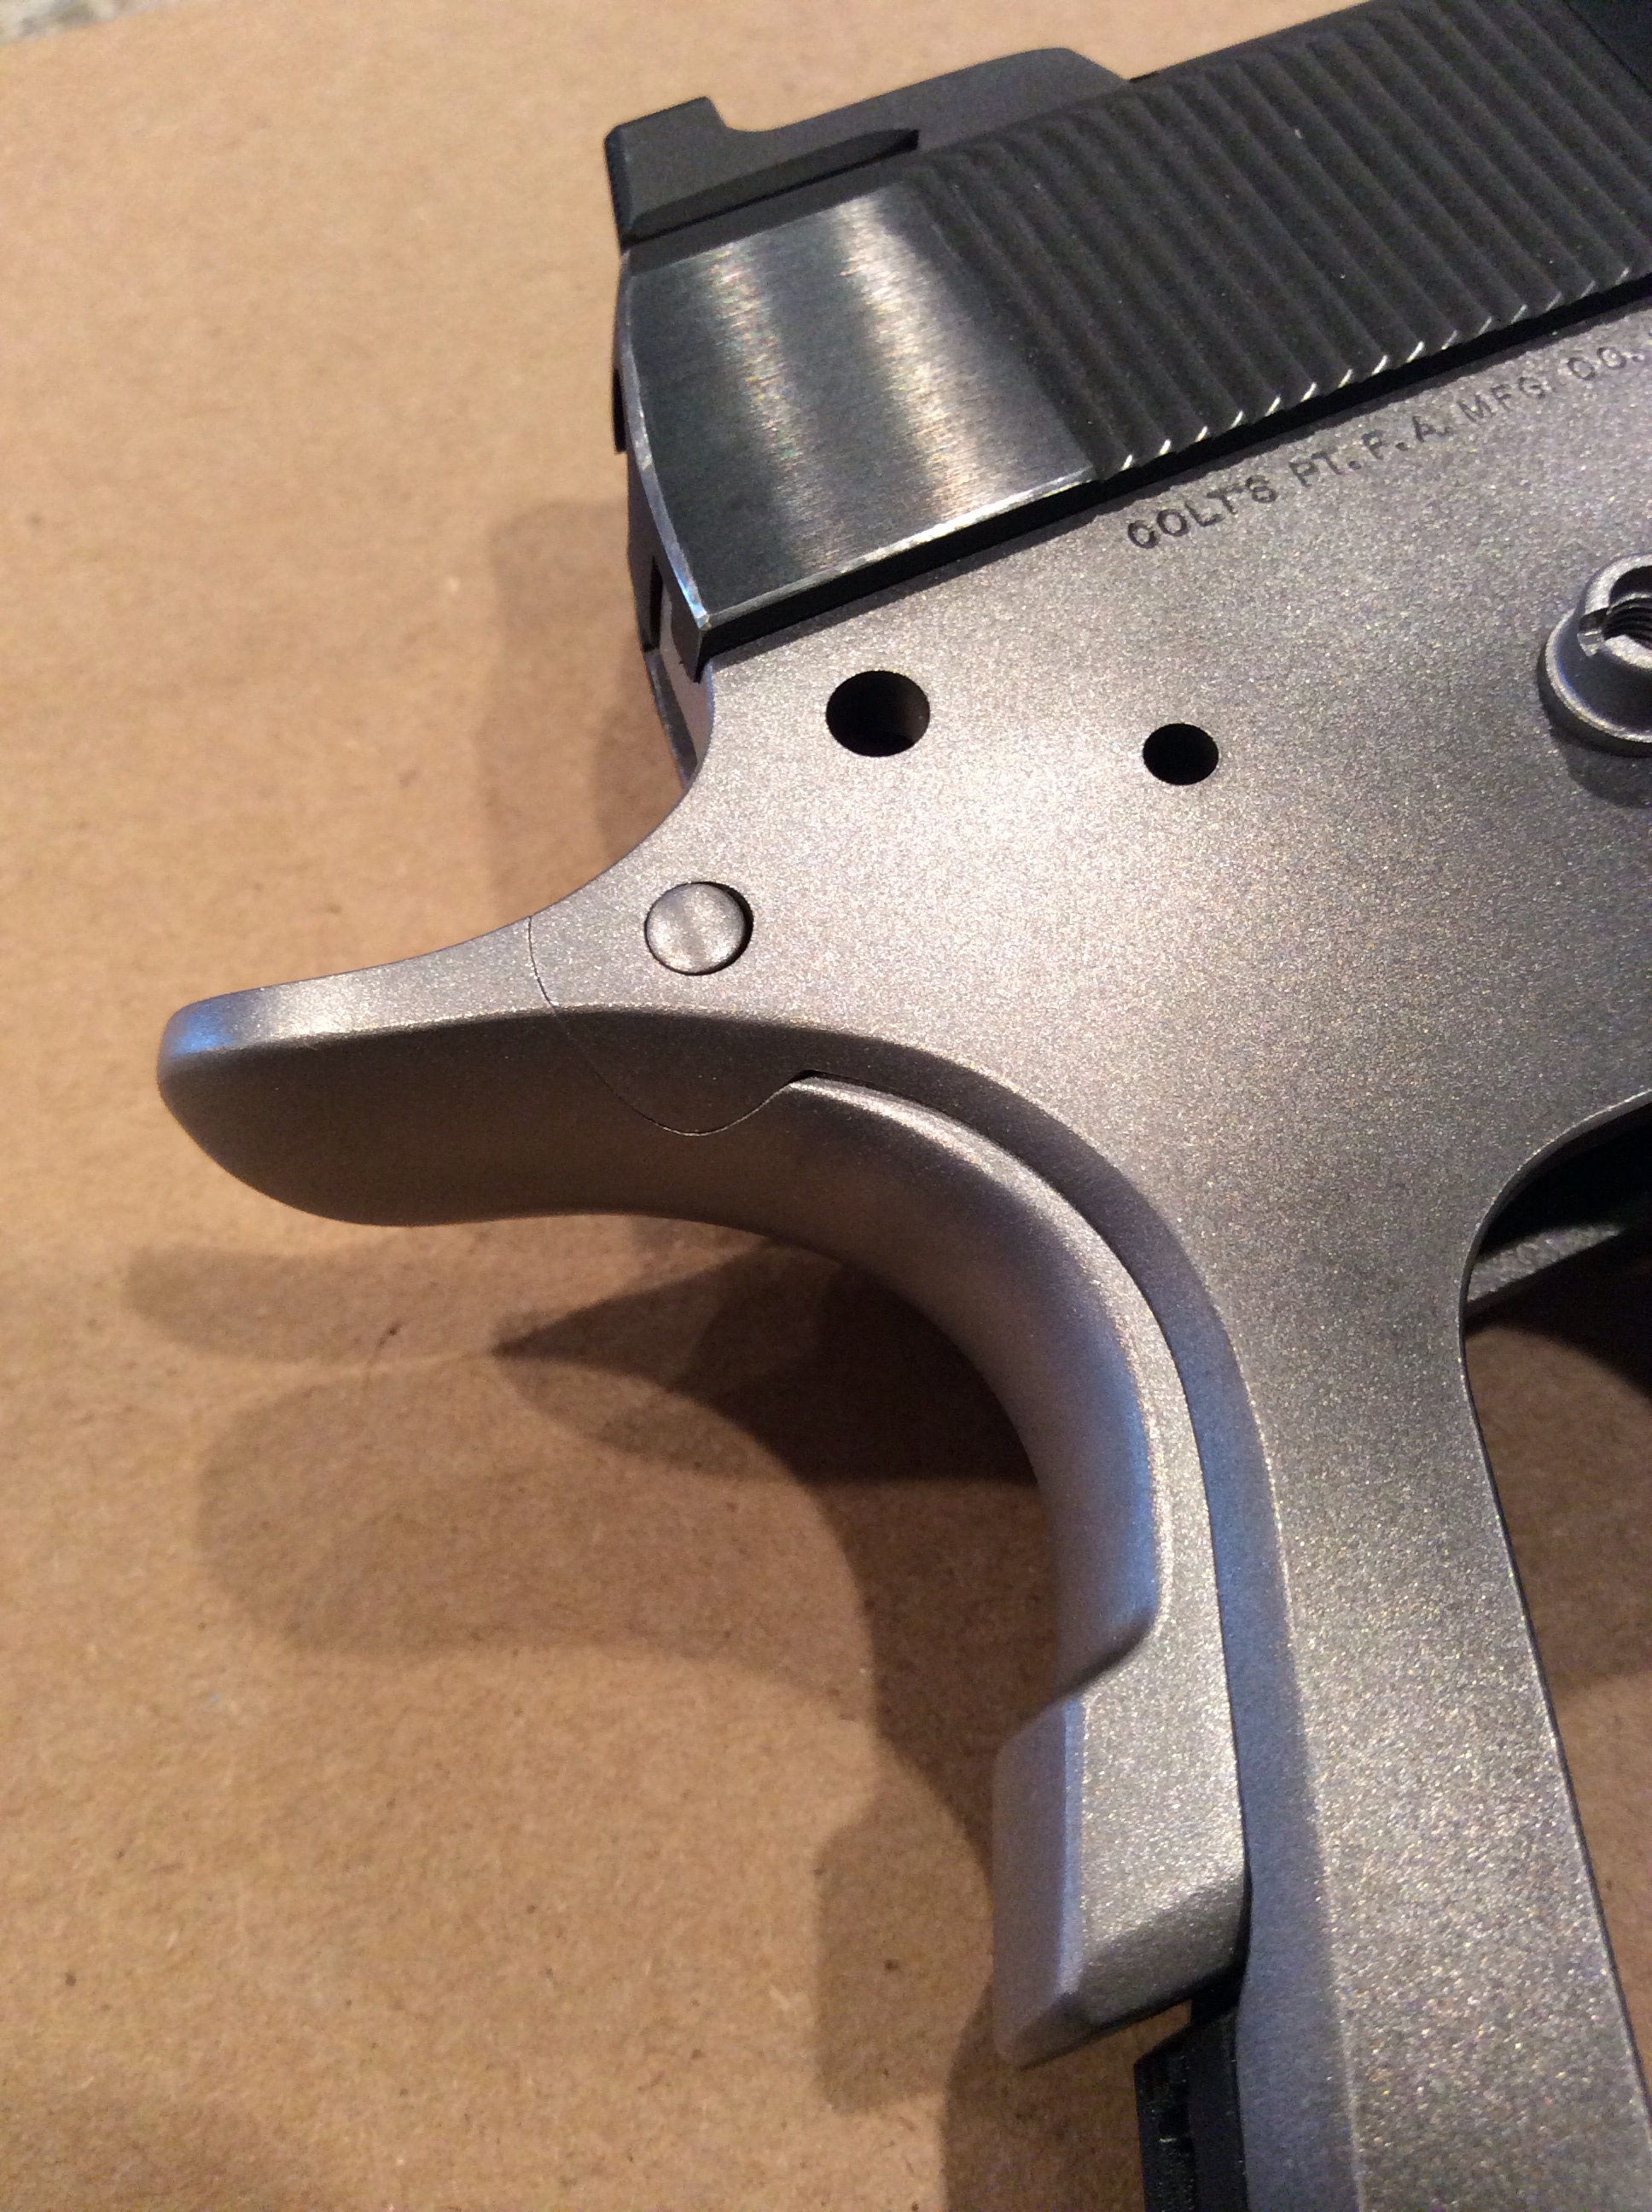
There is a lot of hand work and detailing that goes into the high cut under the trigger guard. After the frame is done on the CNC mill, I get to work with special files and abrasives to get it right.
Fresh off the mill. Notice the irregularity under the trigger guard. That has to be removed and contoured by hand.
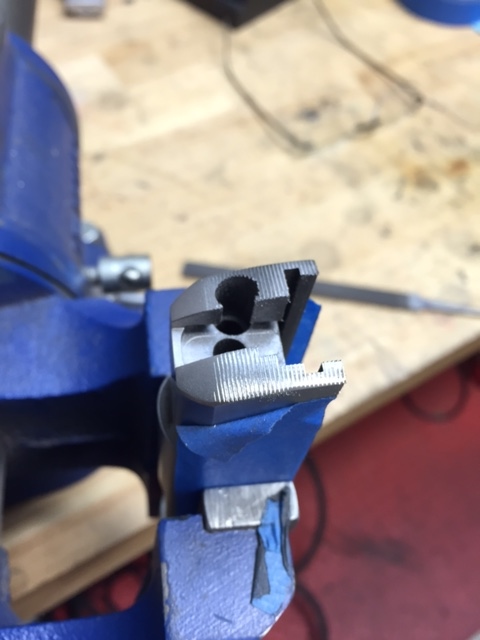
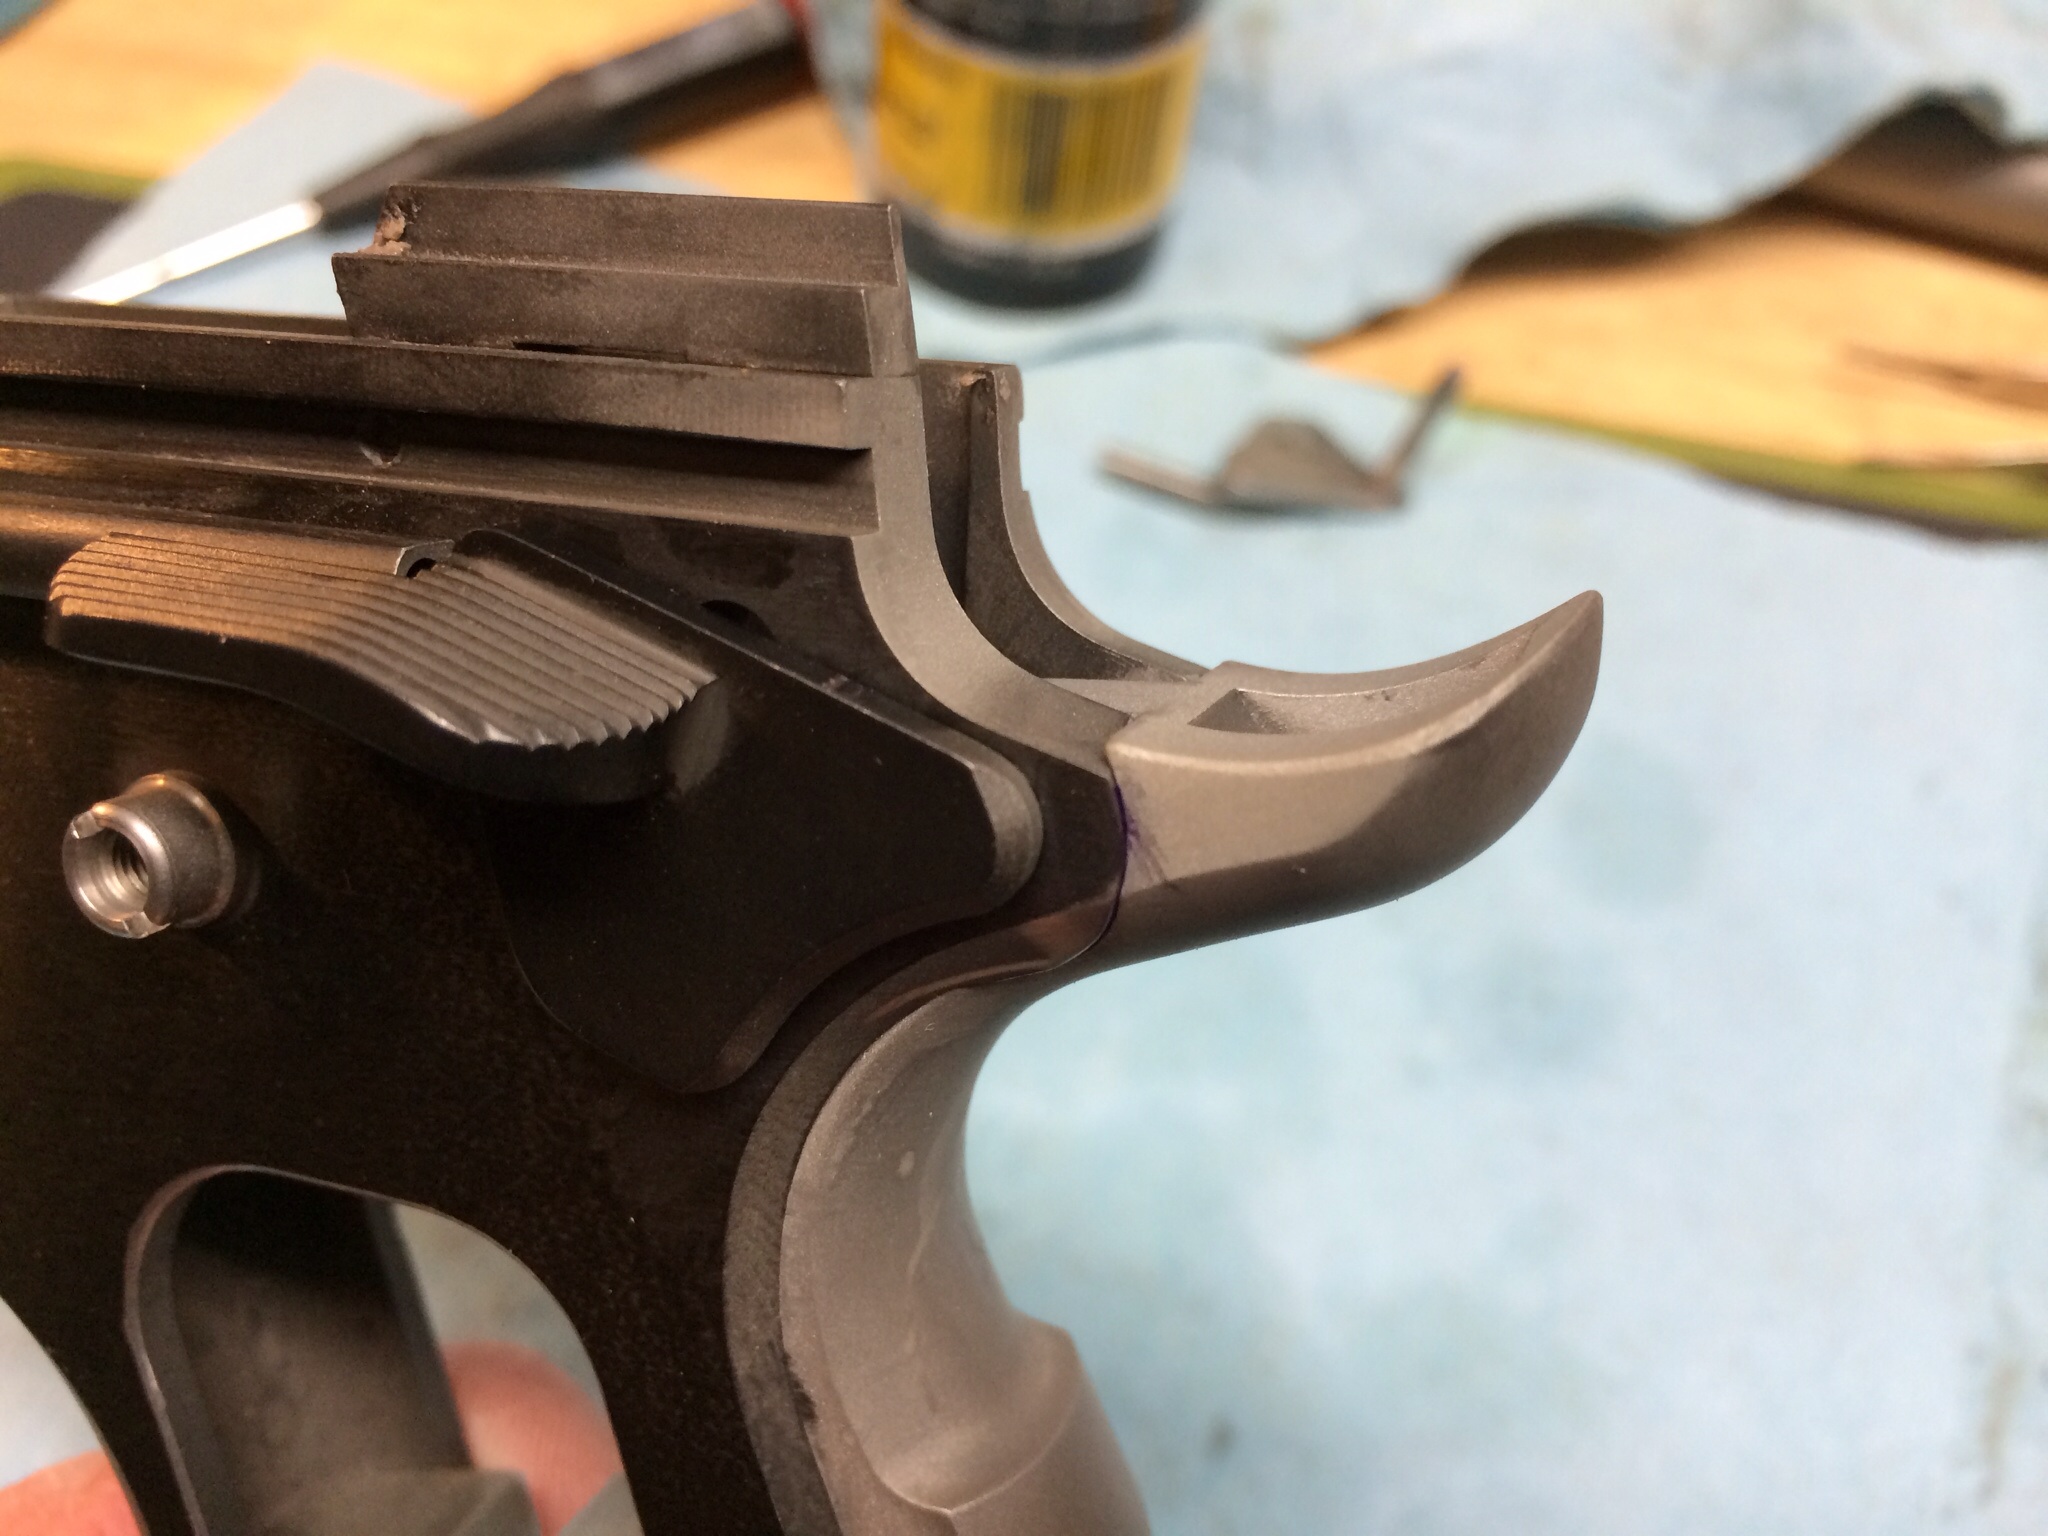
Starting in with files.
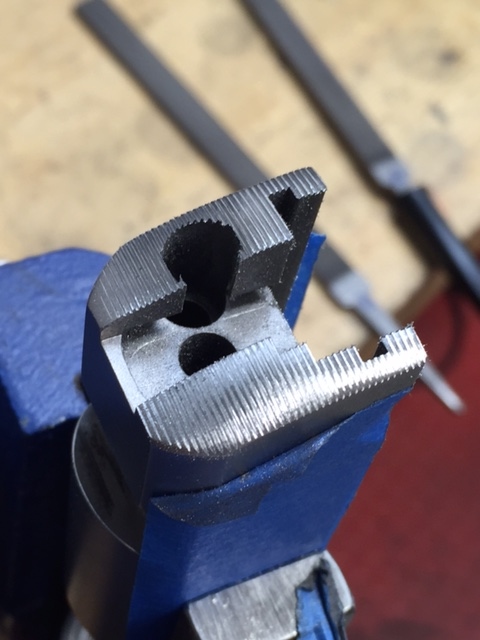
Getting closer.
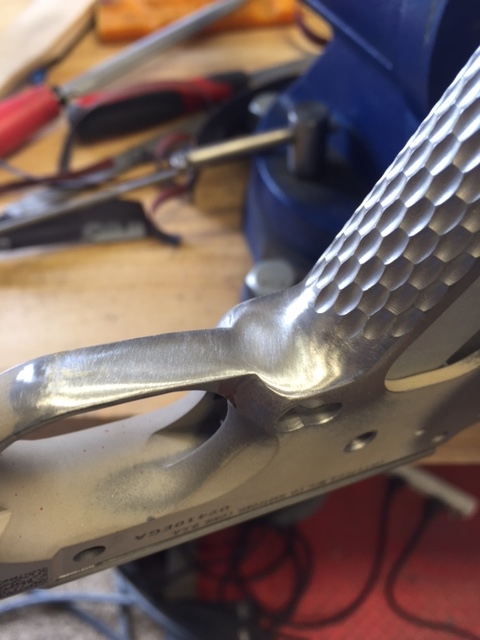
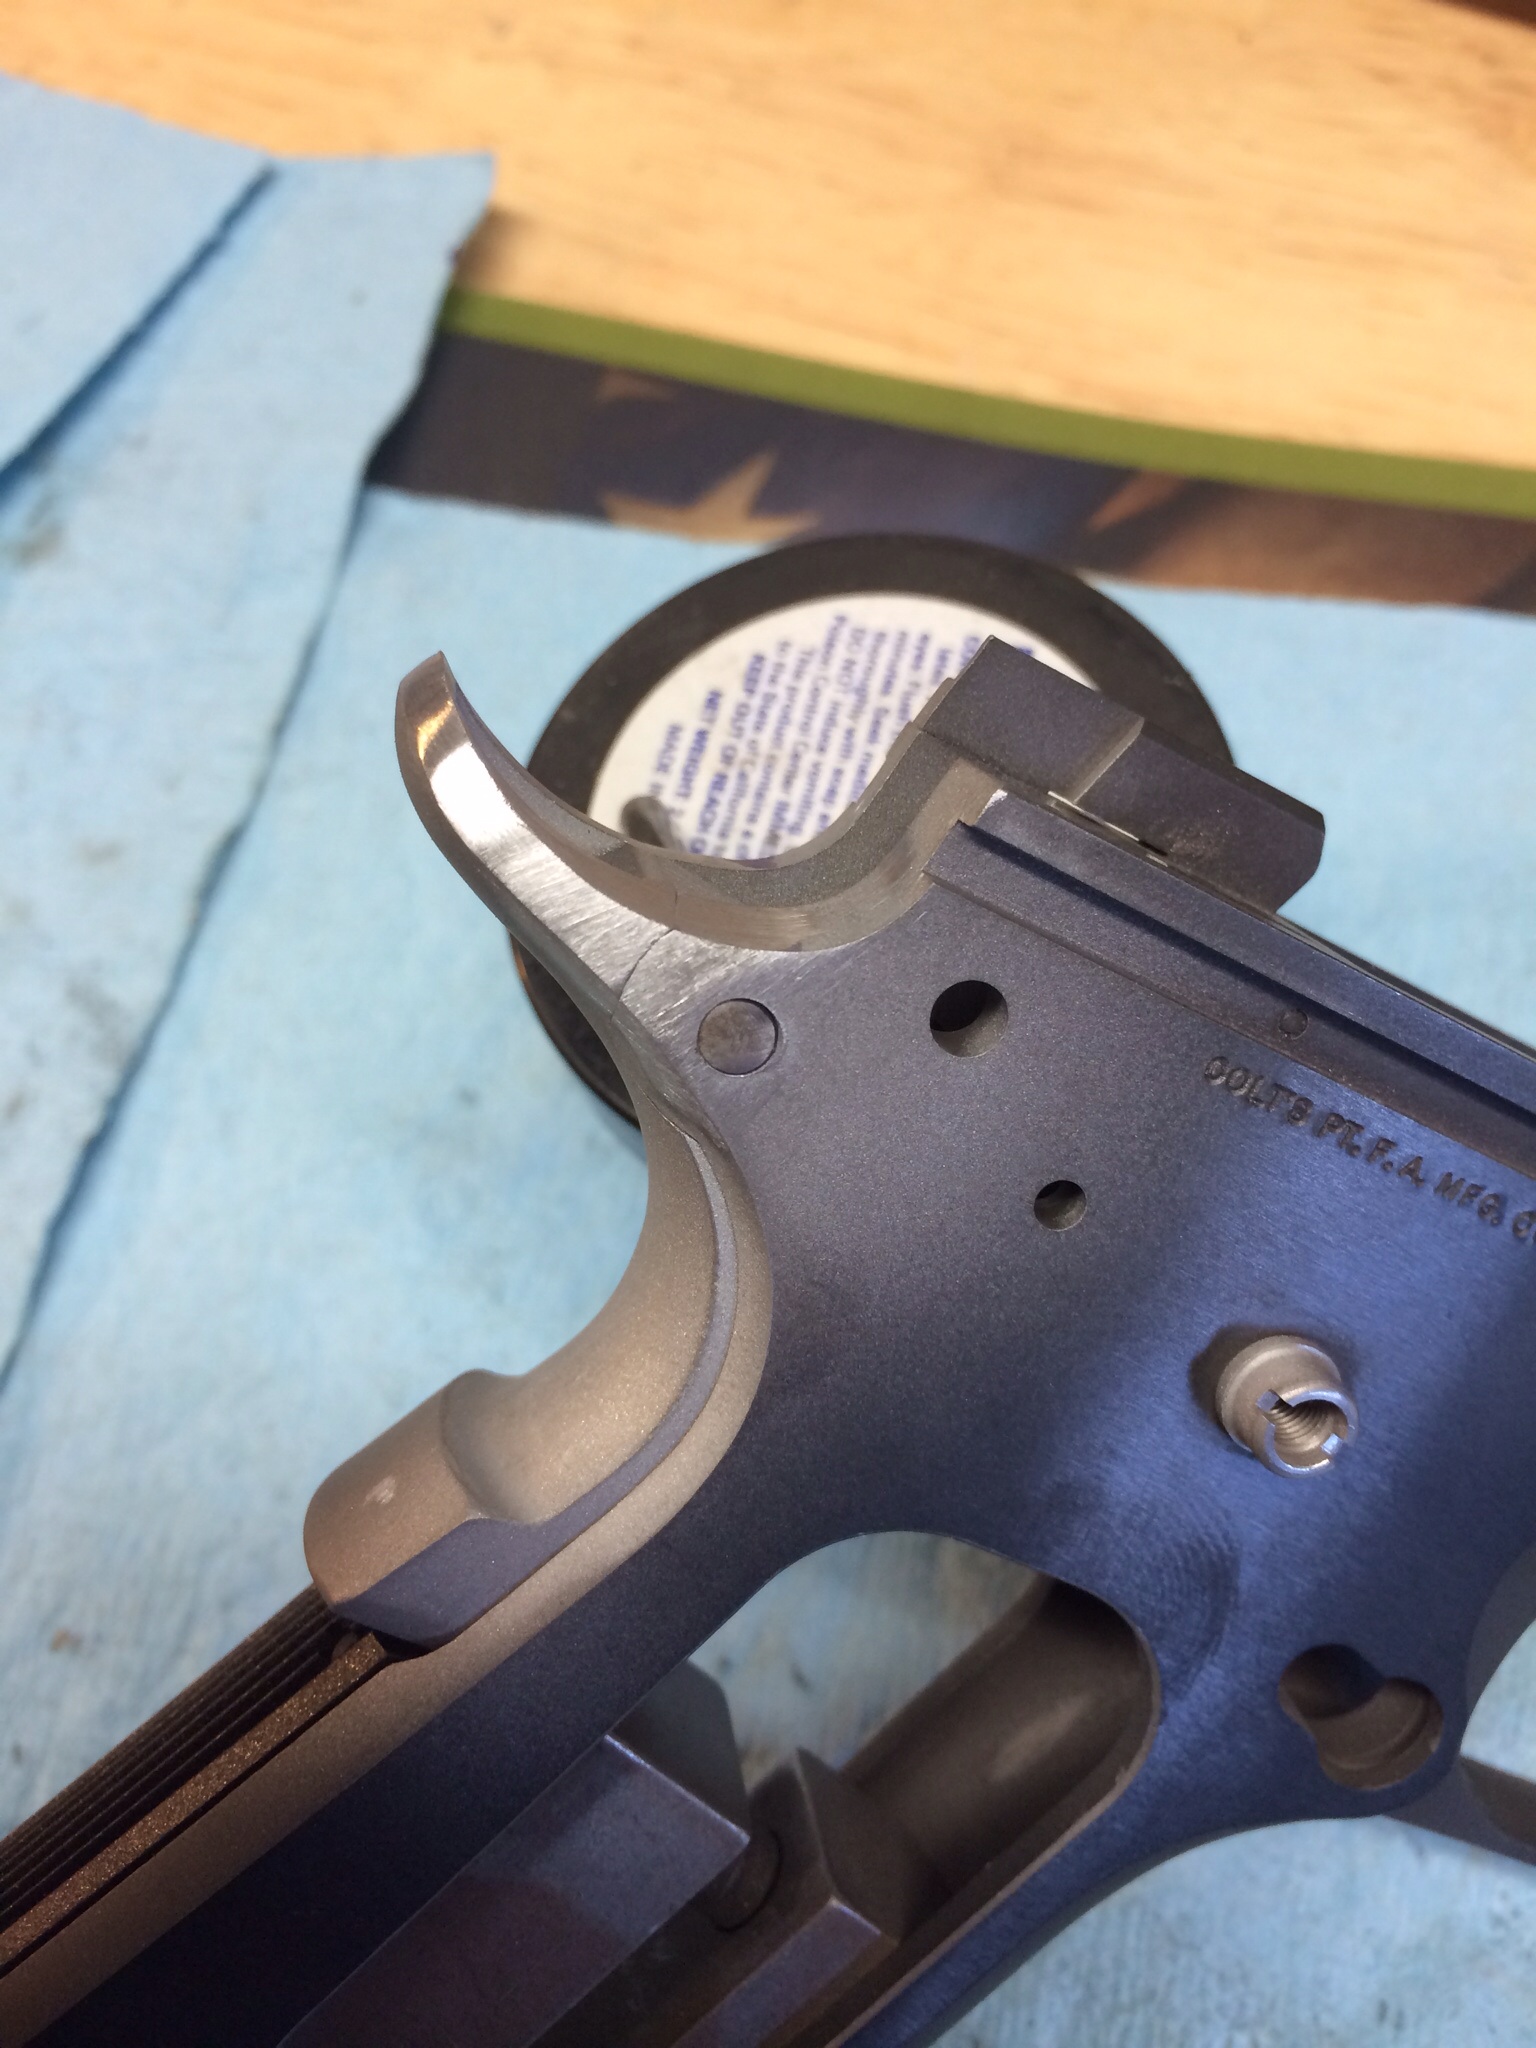
All done.
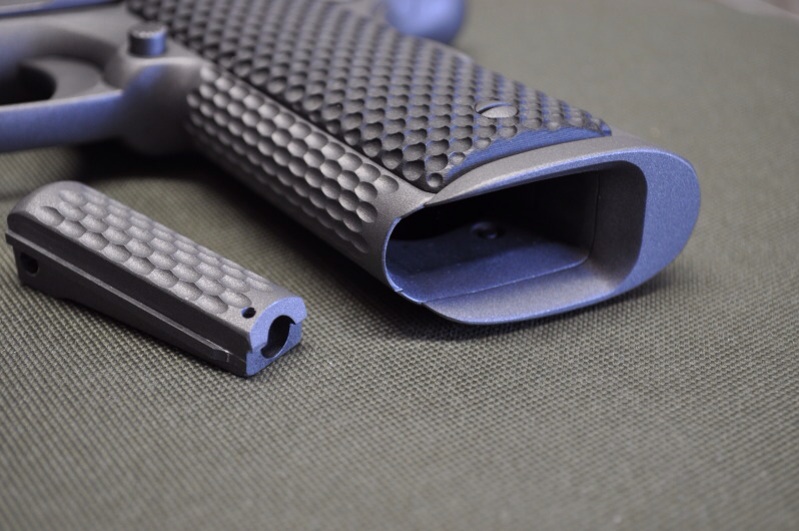
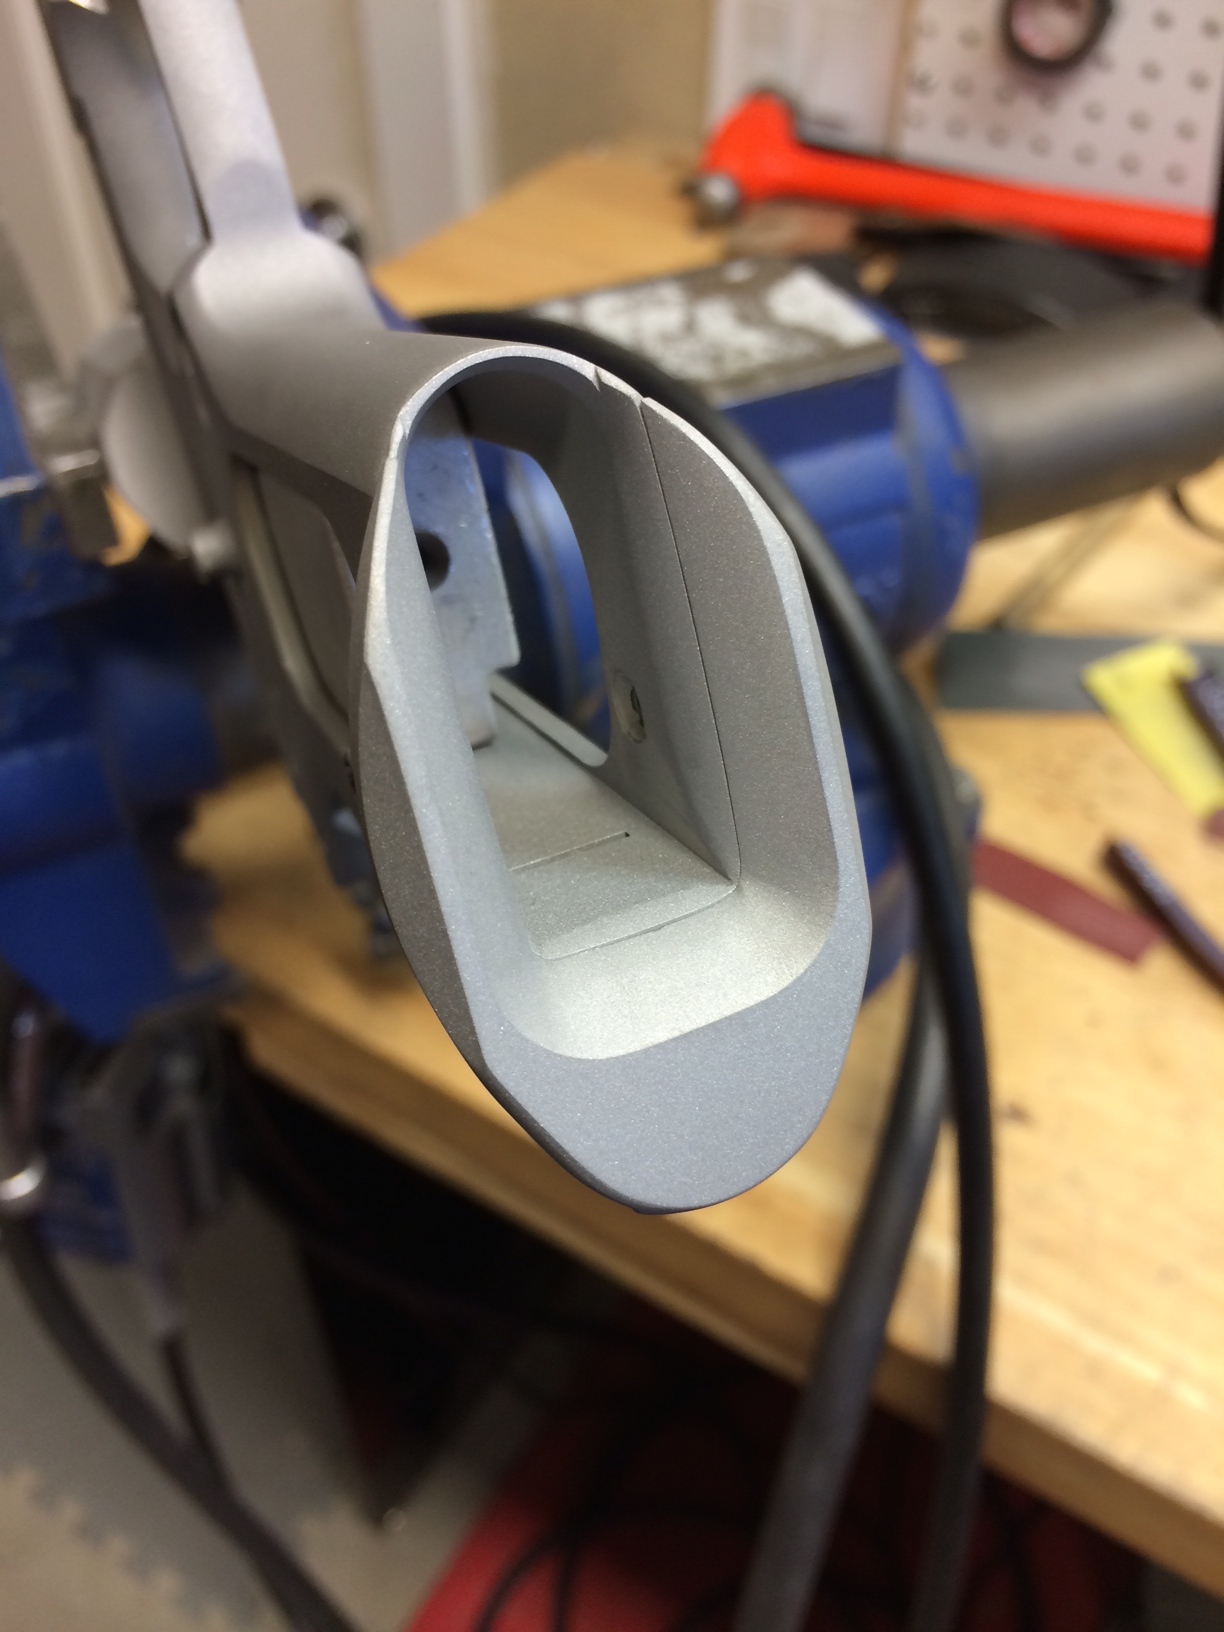
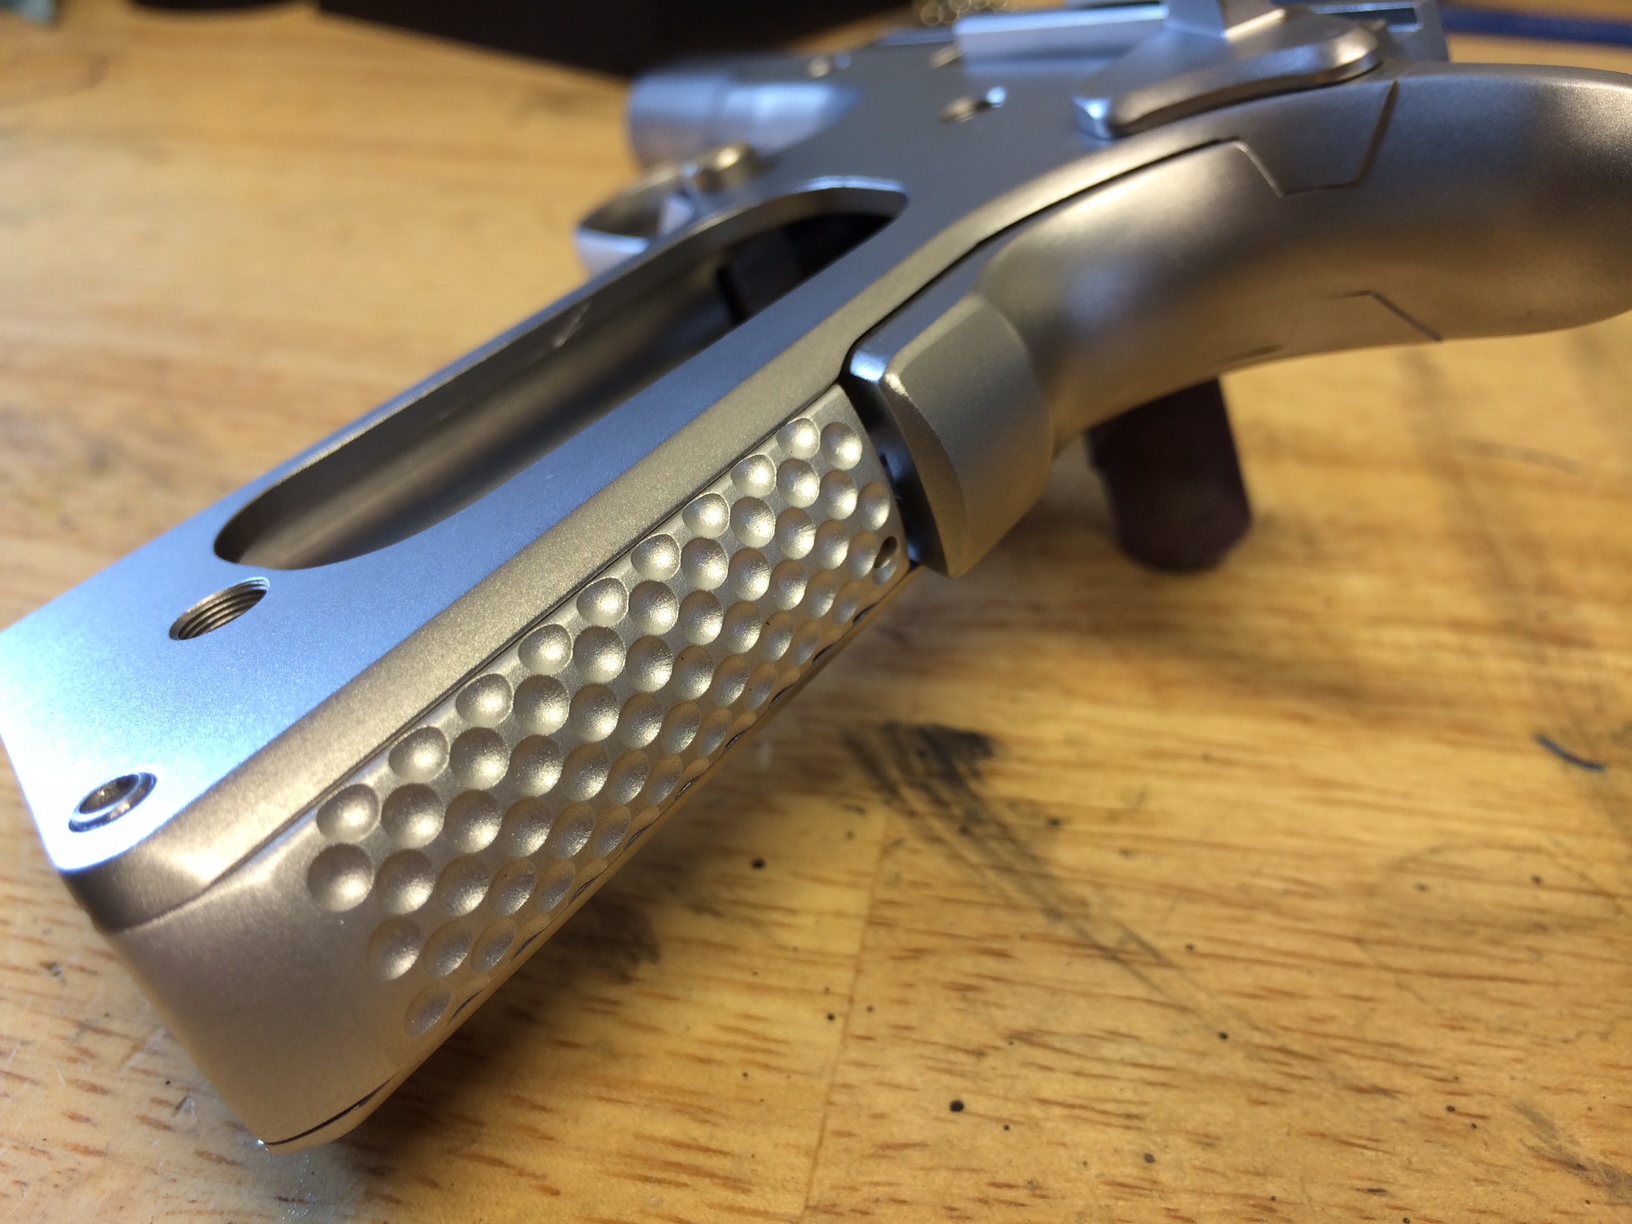
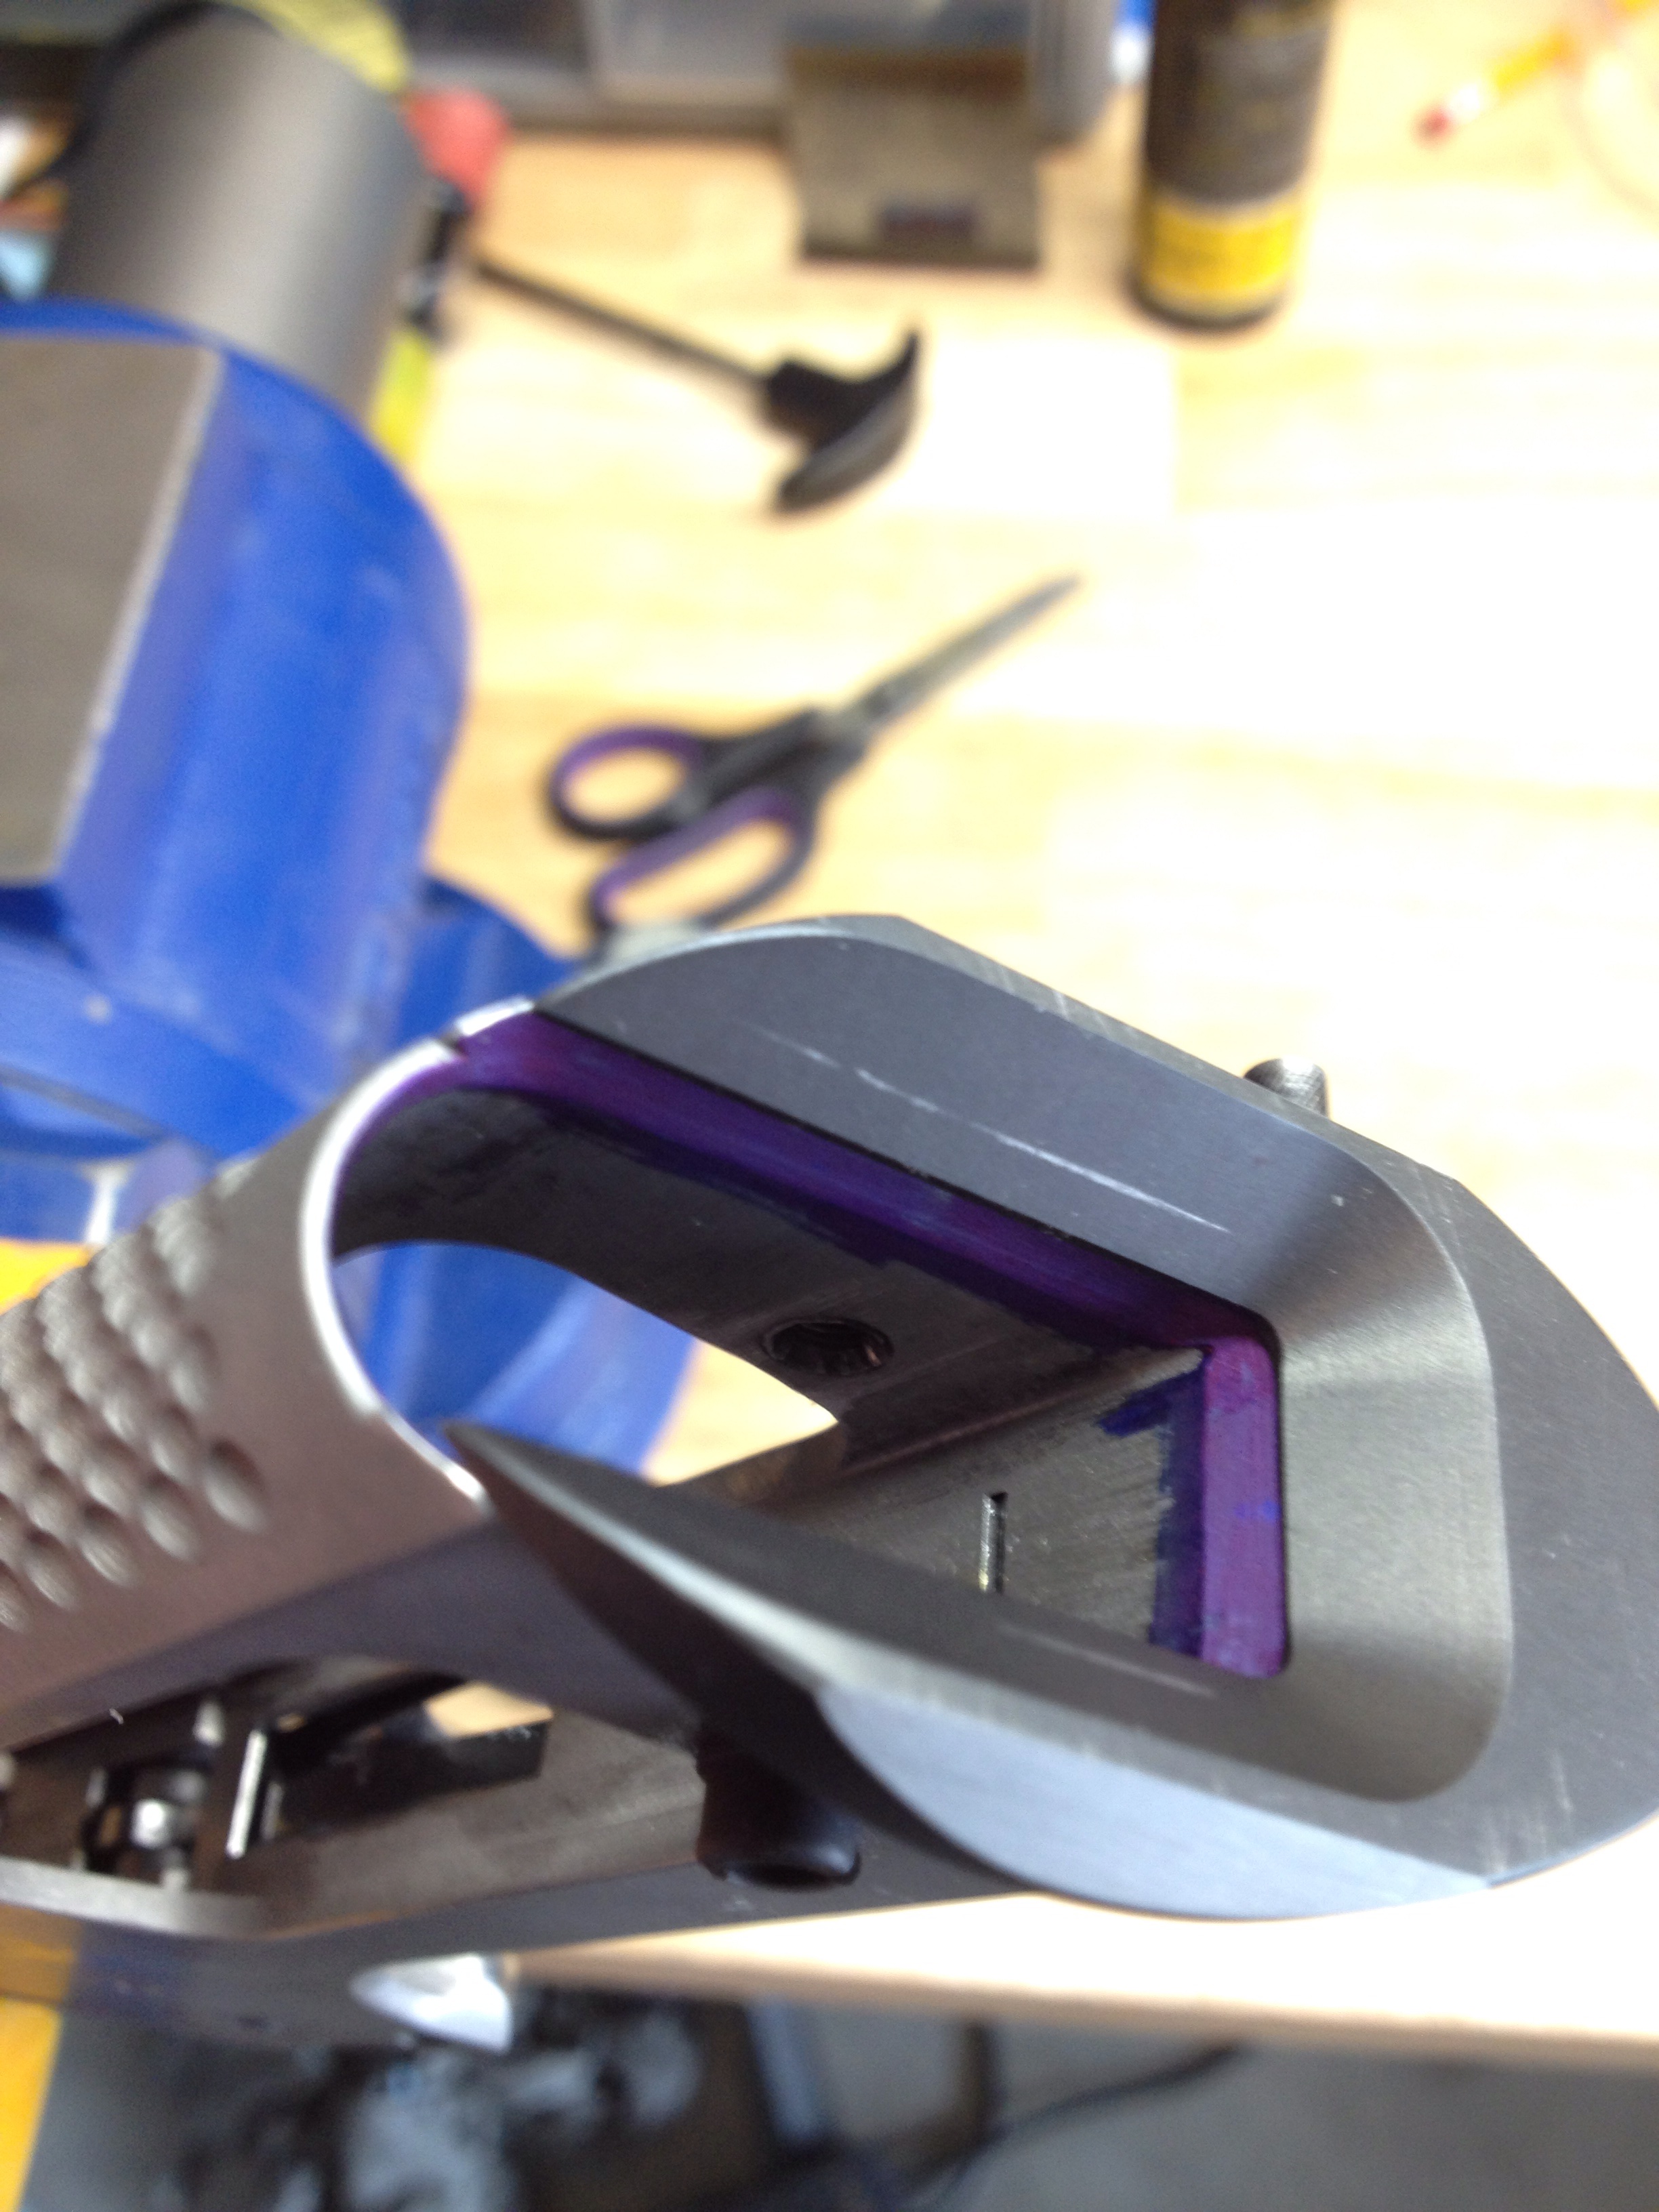
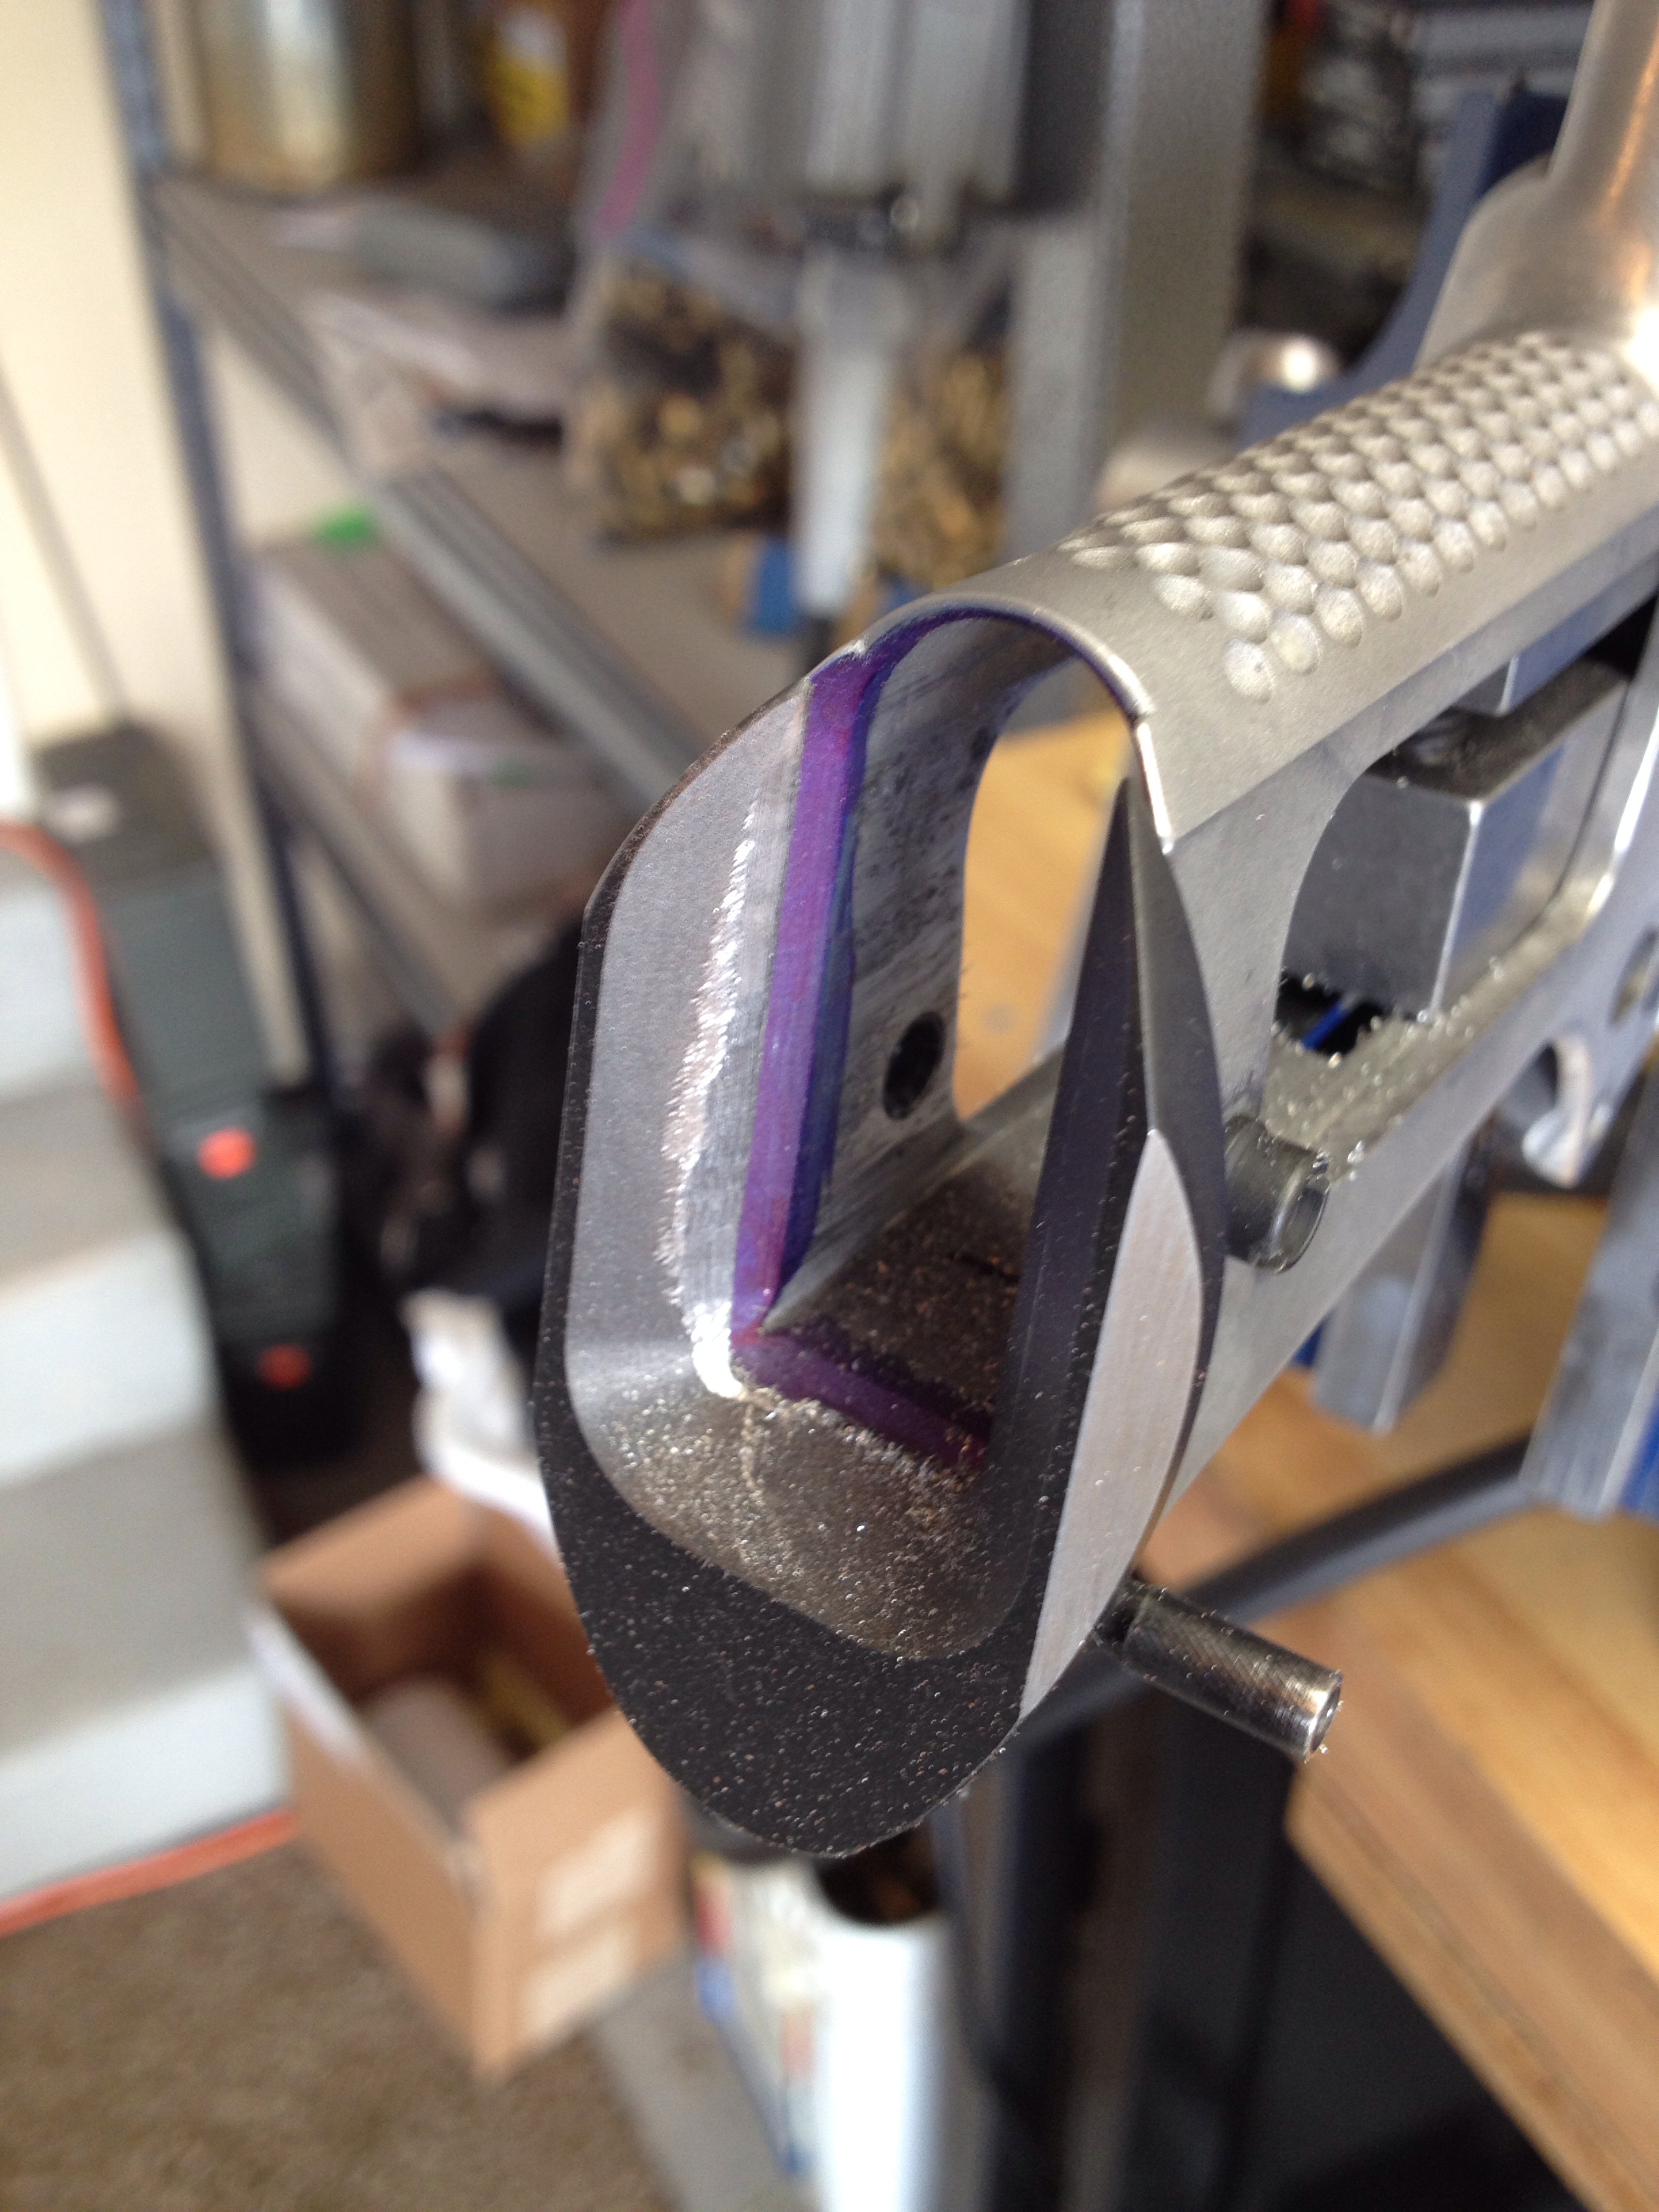
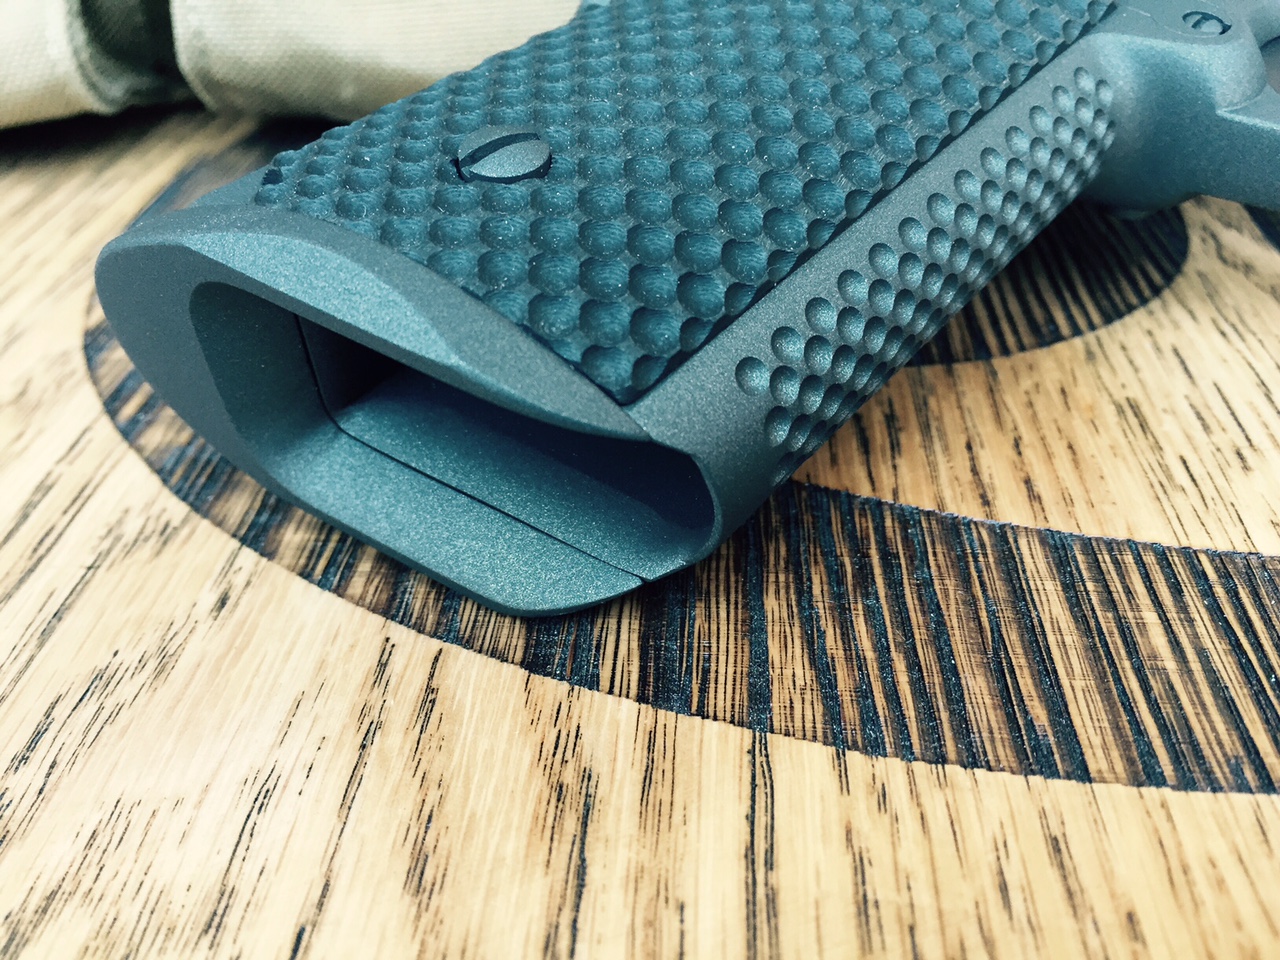
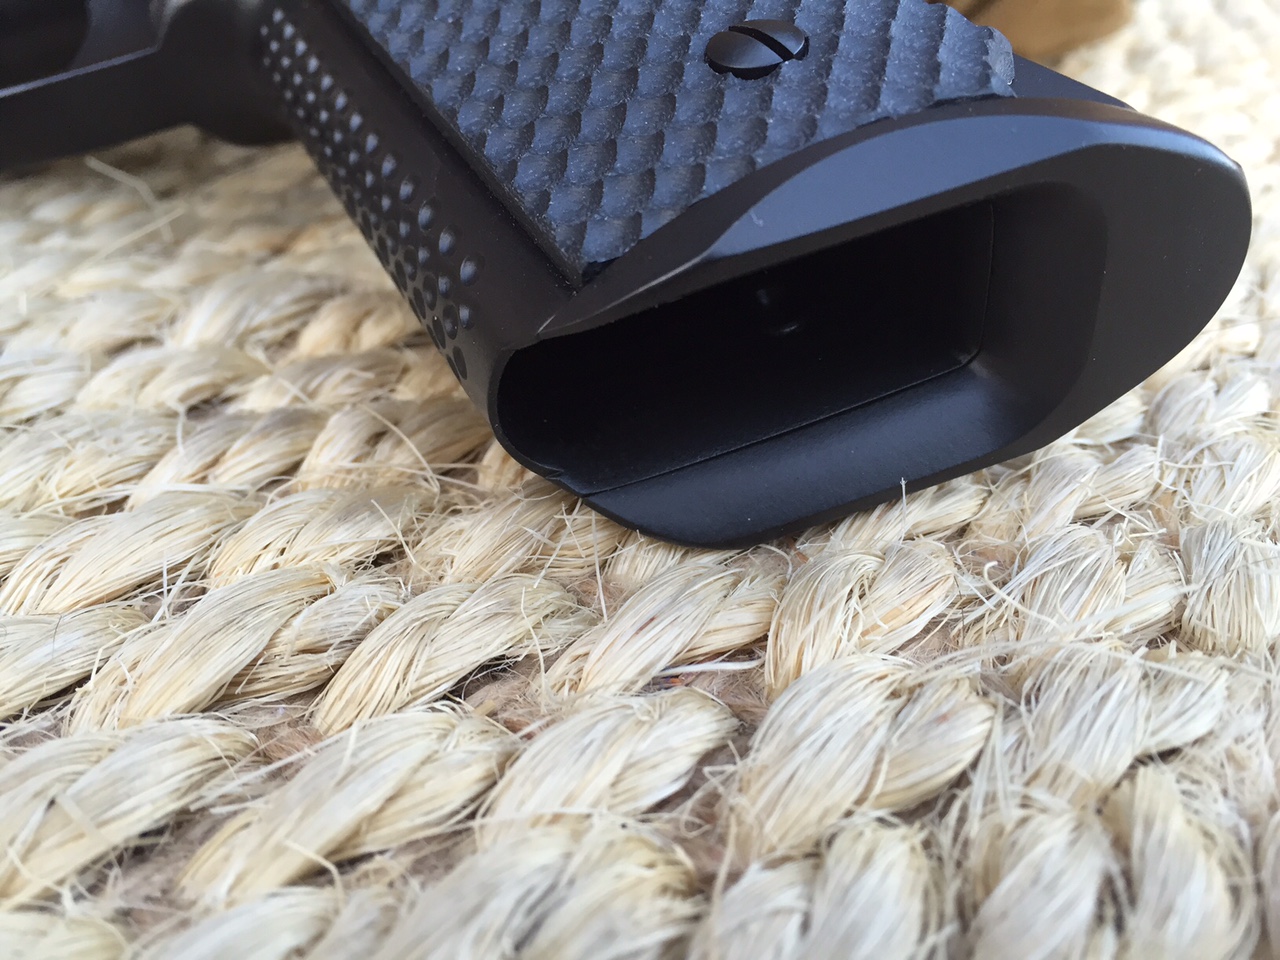
Some recent magwell work. I spend a lot of time hand blending the one piece S&A magwell for a seamless no-gap fit.
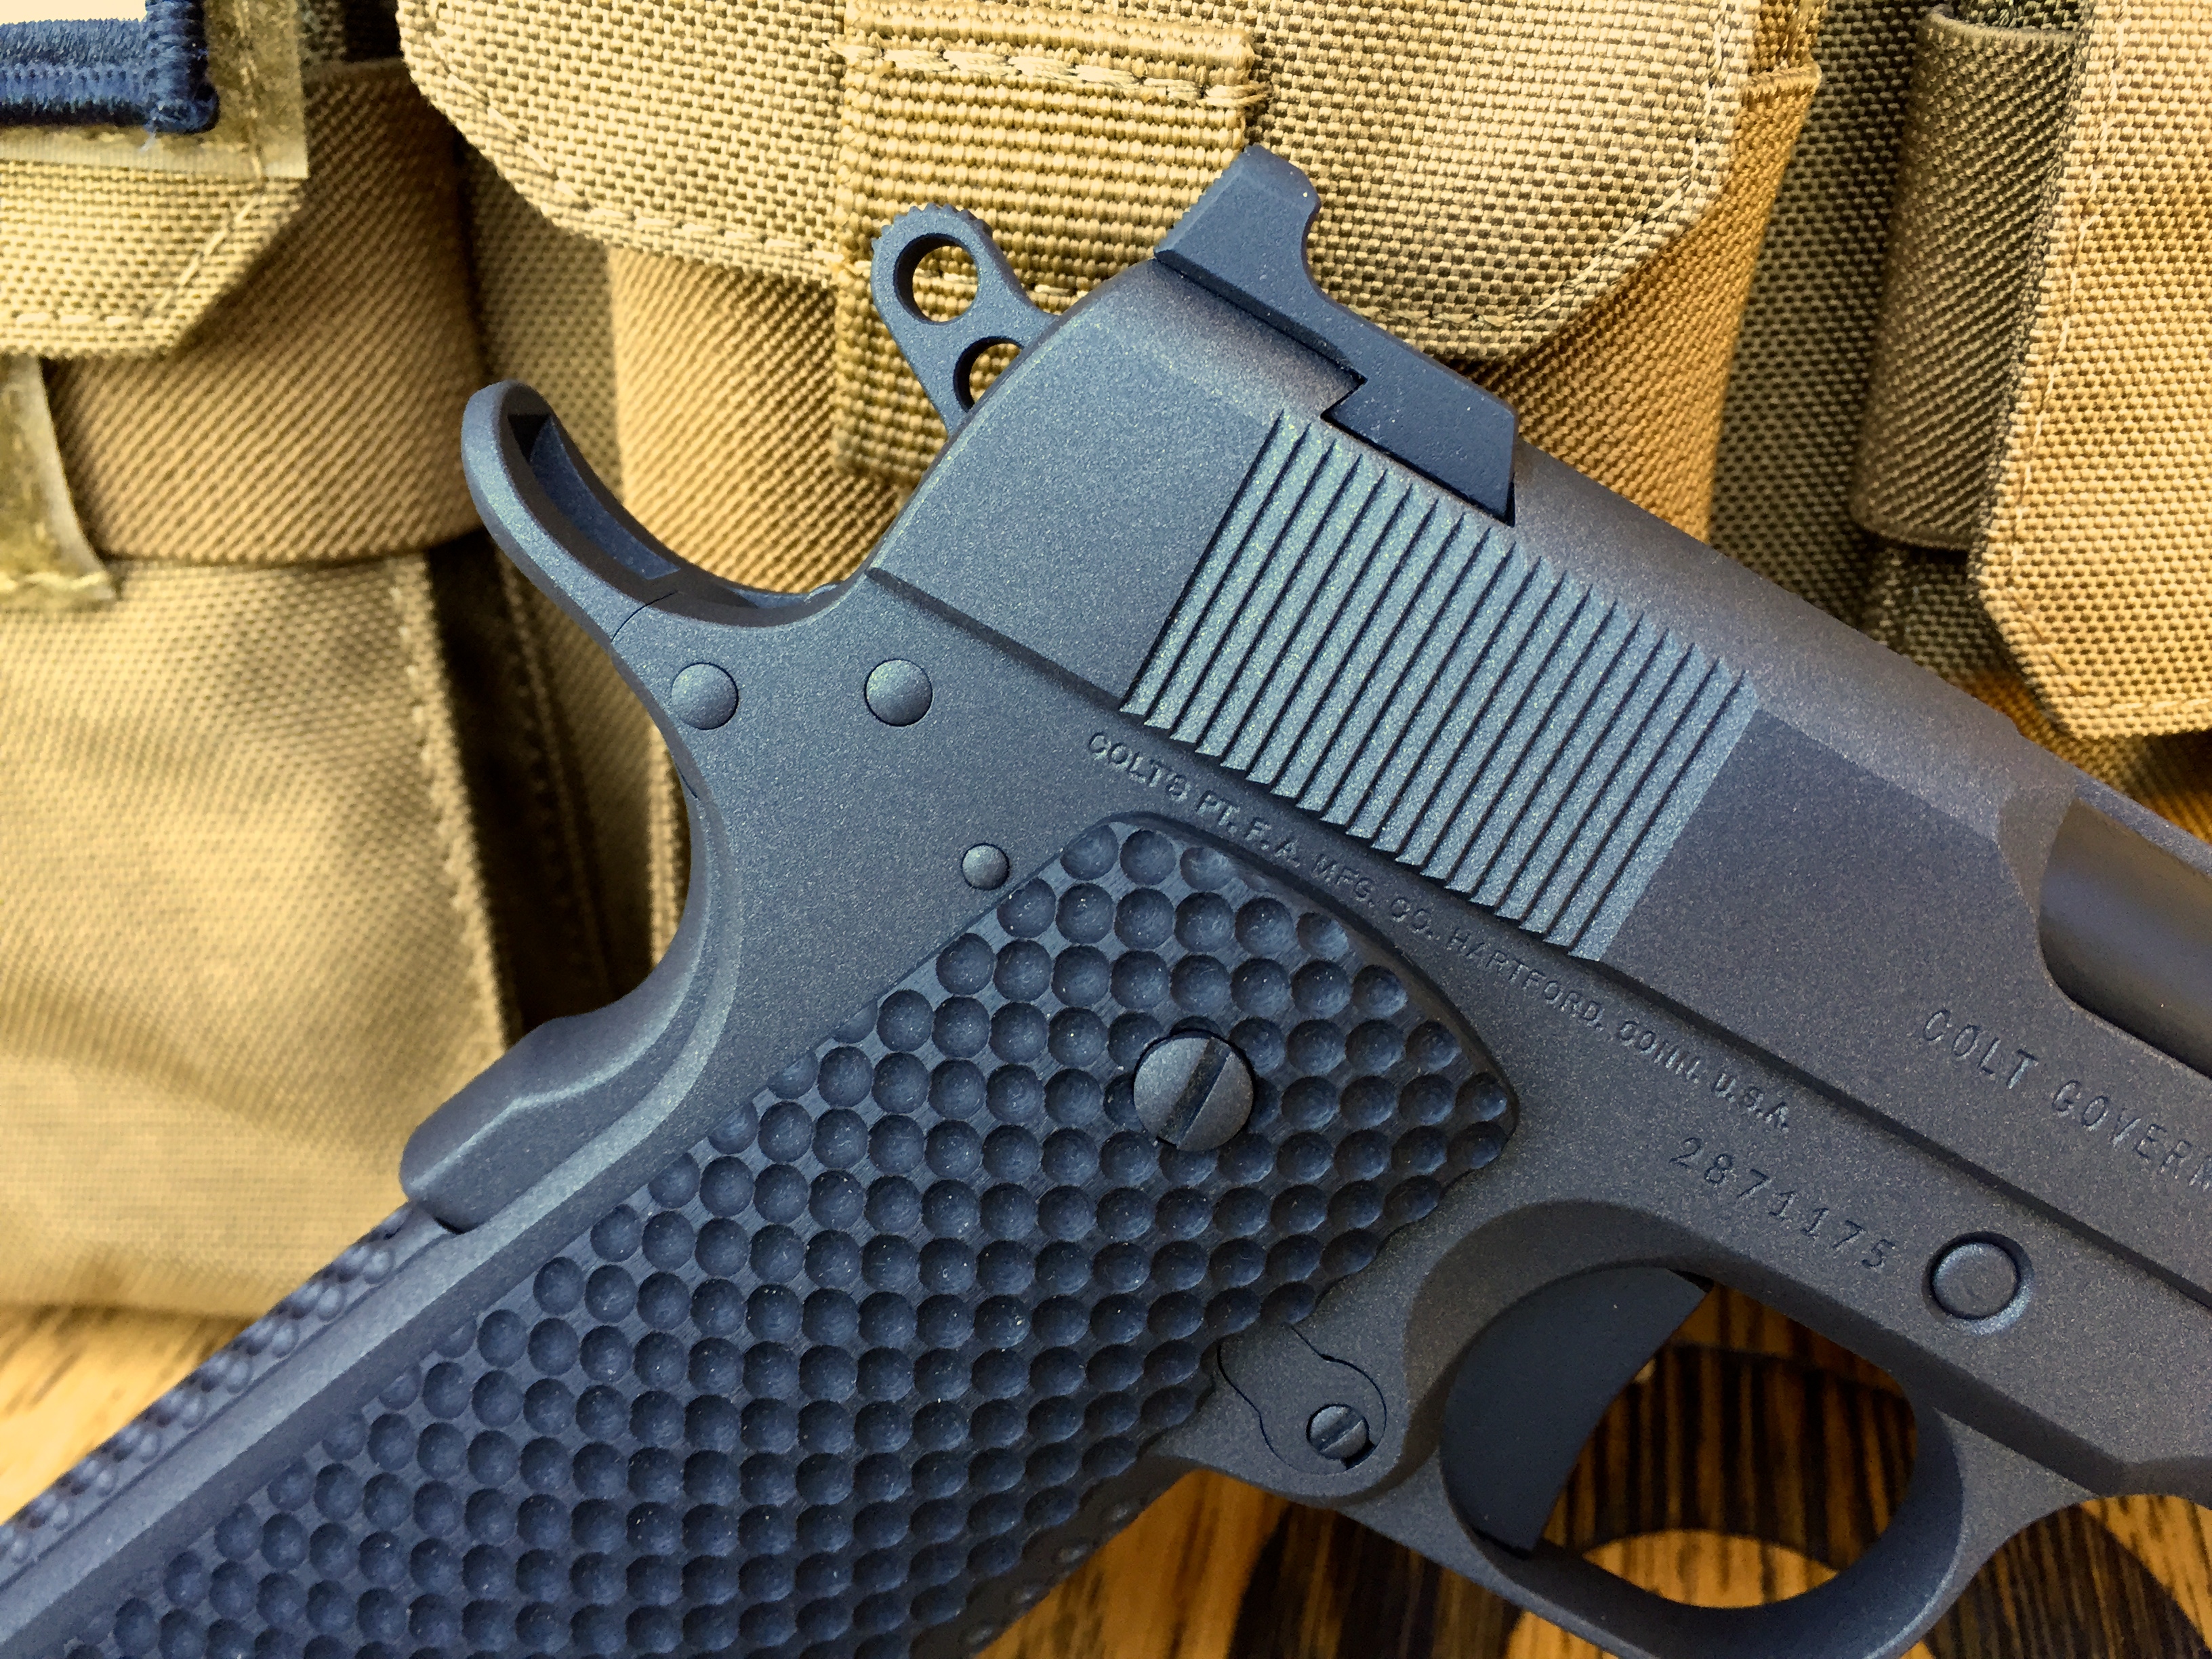
These pics show golf balls (by Steve Morrison), my work under the trigger guard and rounding the butt on this custom Colt commander build.
Beavertail grip safety fitting pictures.
The old school way of rough fling the tangs down to the .250″ radius using an Ed Brown frame jig. I sometimes use a belt sander to cut the tangs or they can be machined as well.
This EGW thumb safety now goes through and I’ve started contouring the EGW .245″ radius grip safety.
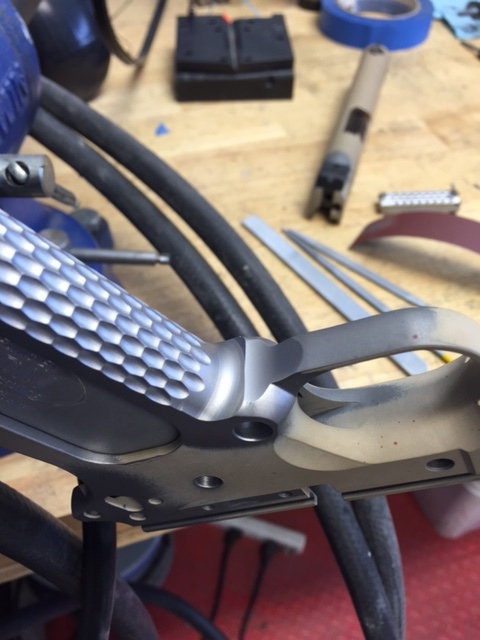
Blending the sides of the frame to the grip safety for a seamless fit.
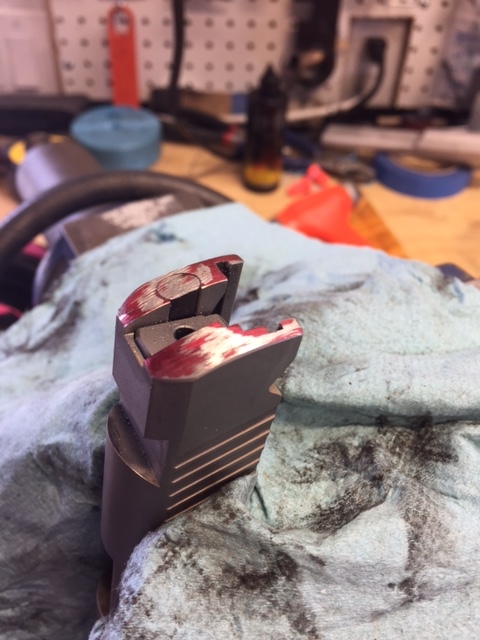
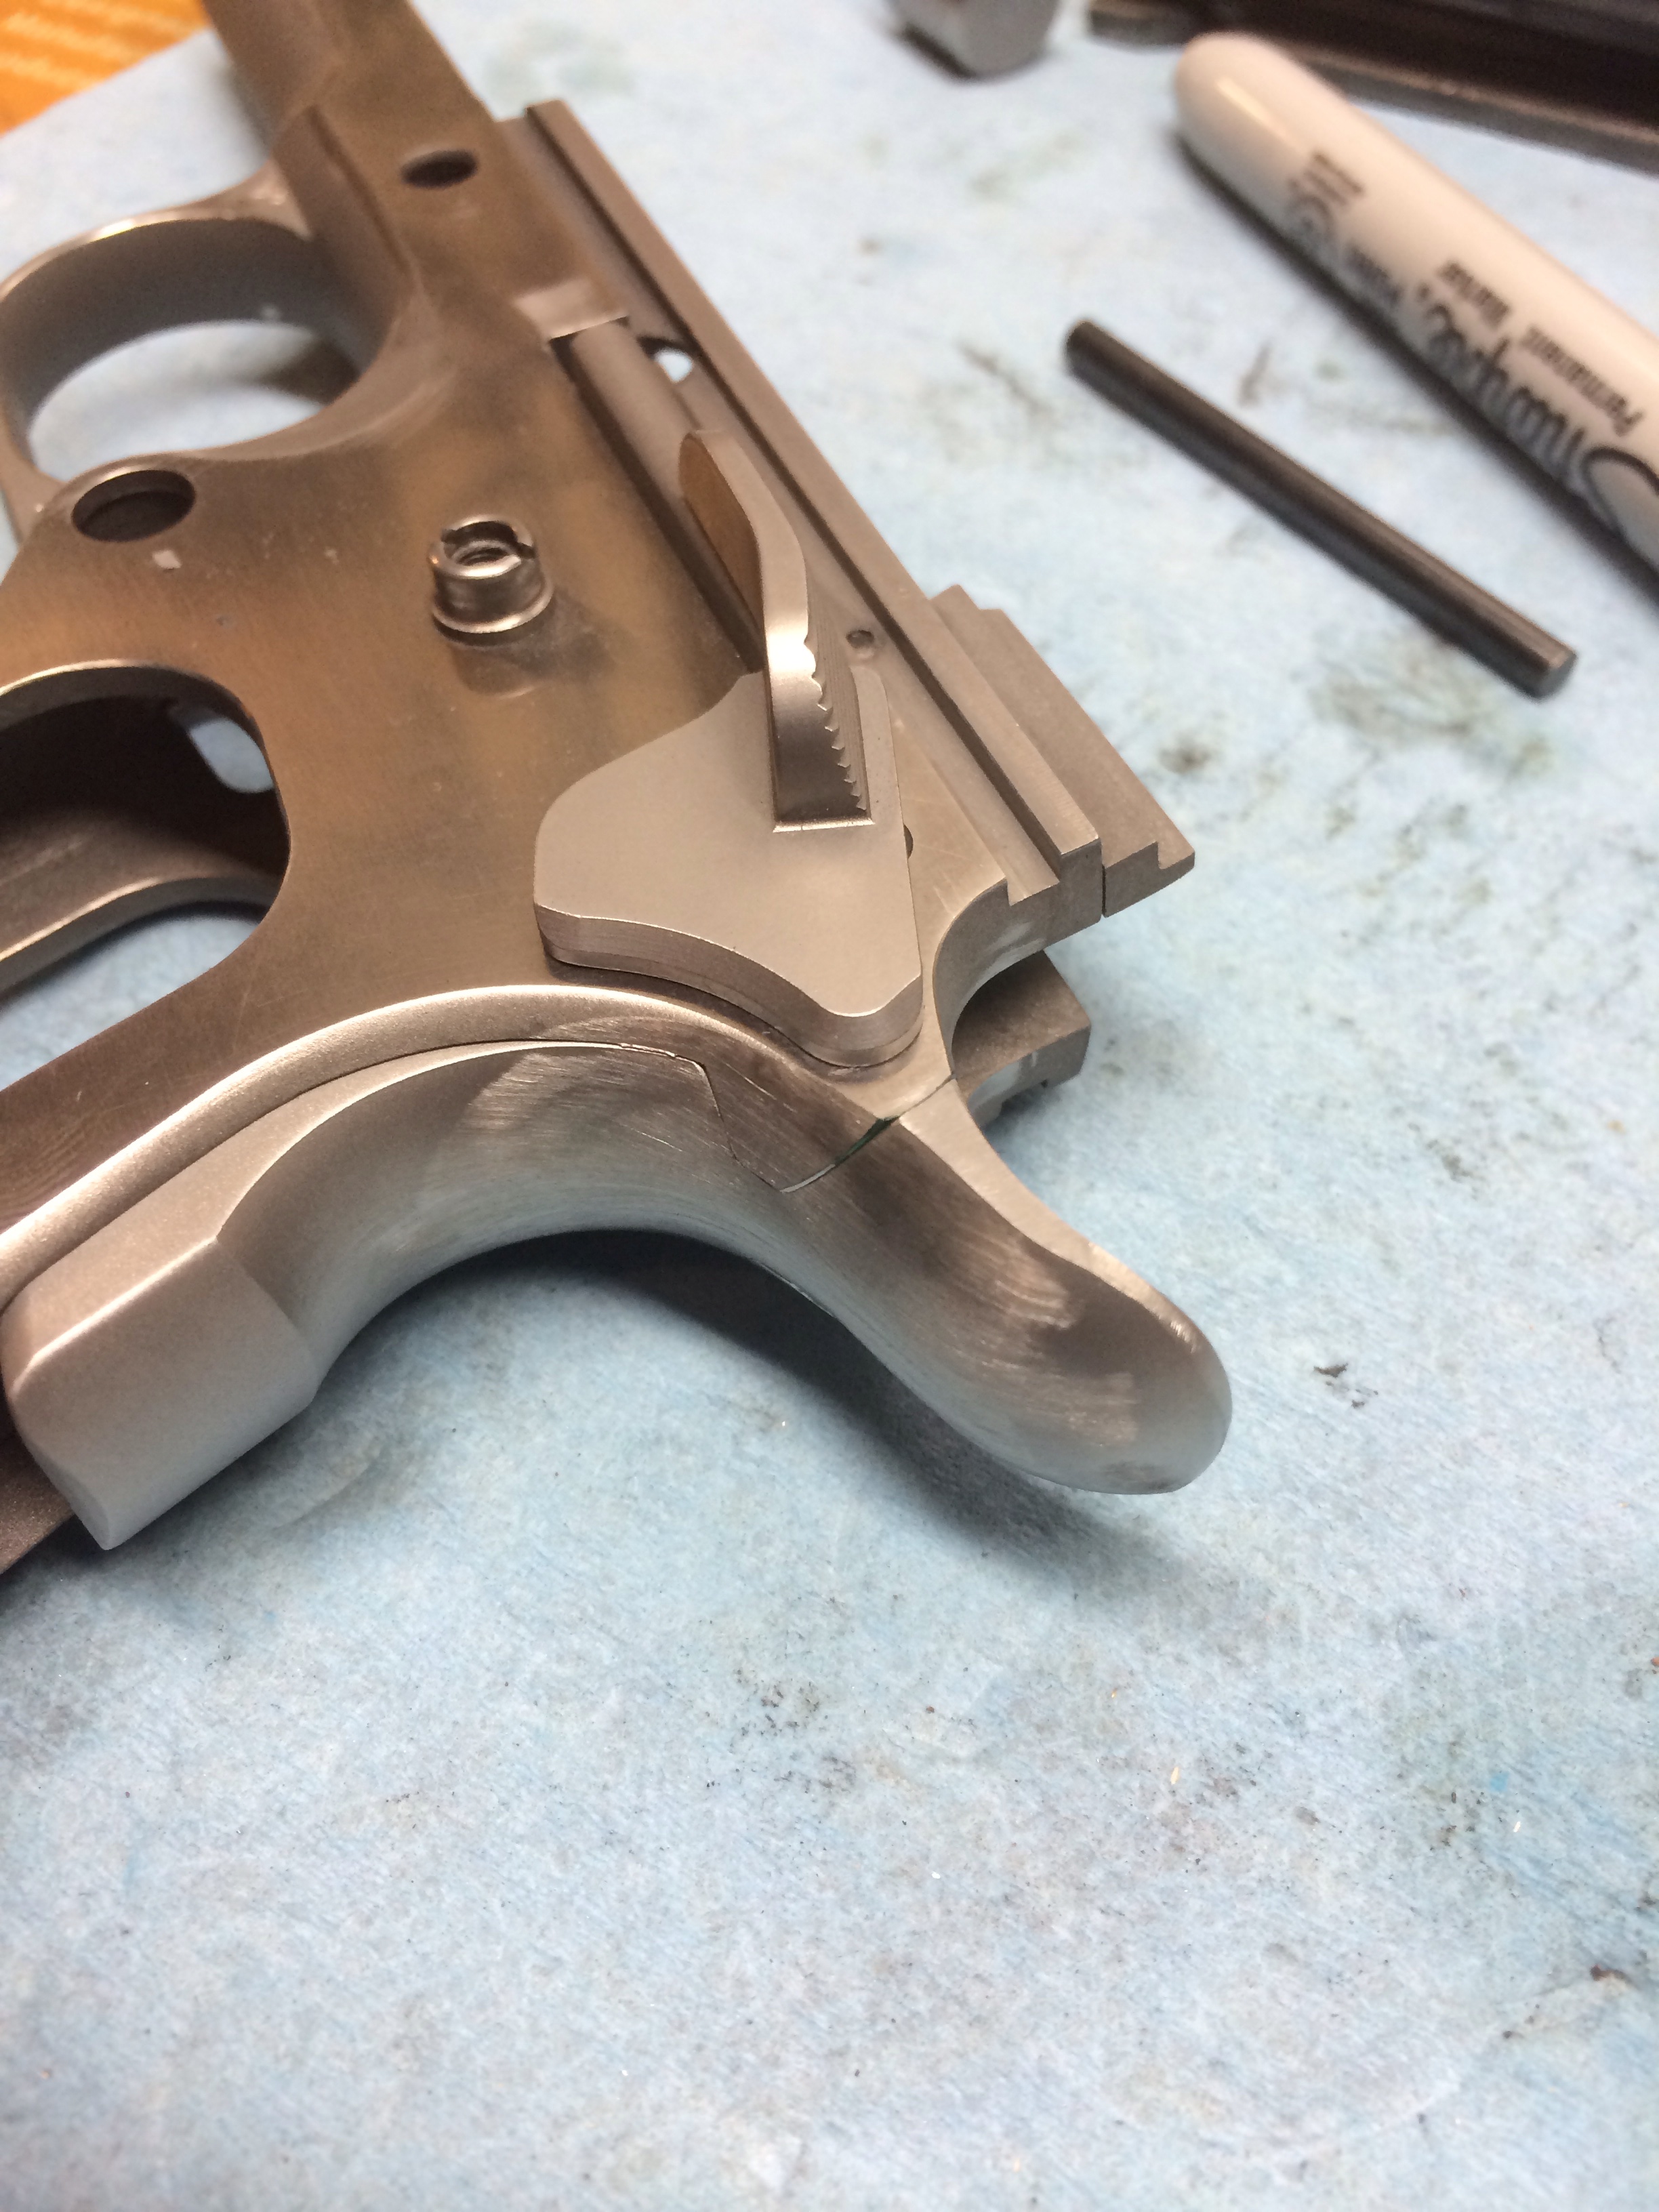
This next set of pictures shows how I fit a Les Baer grip safety. Here it is after doing the initial fit to the frame tangs. You can see how it doesn’t quite look right yet. A lot of metal has to now be removed to make it right.
Here I have started to remove metal under the safety for a high hold, and have contoured the top of the beavertail so it flows seamlessly with the frame. I’ve also started blending the width of the grip safety to the frame. I use precision gauge pins during this process.
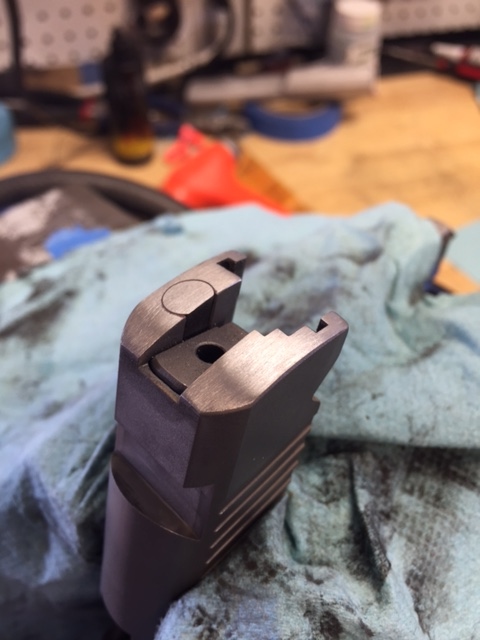
All done. Now it will be given a cerakote finish.
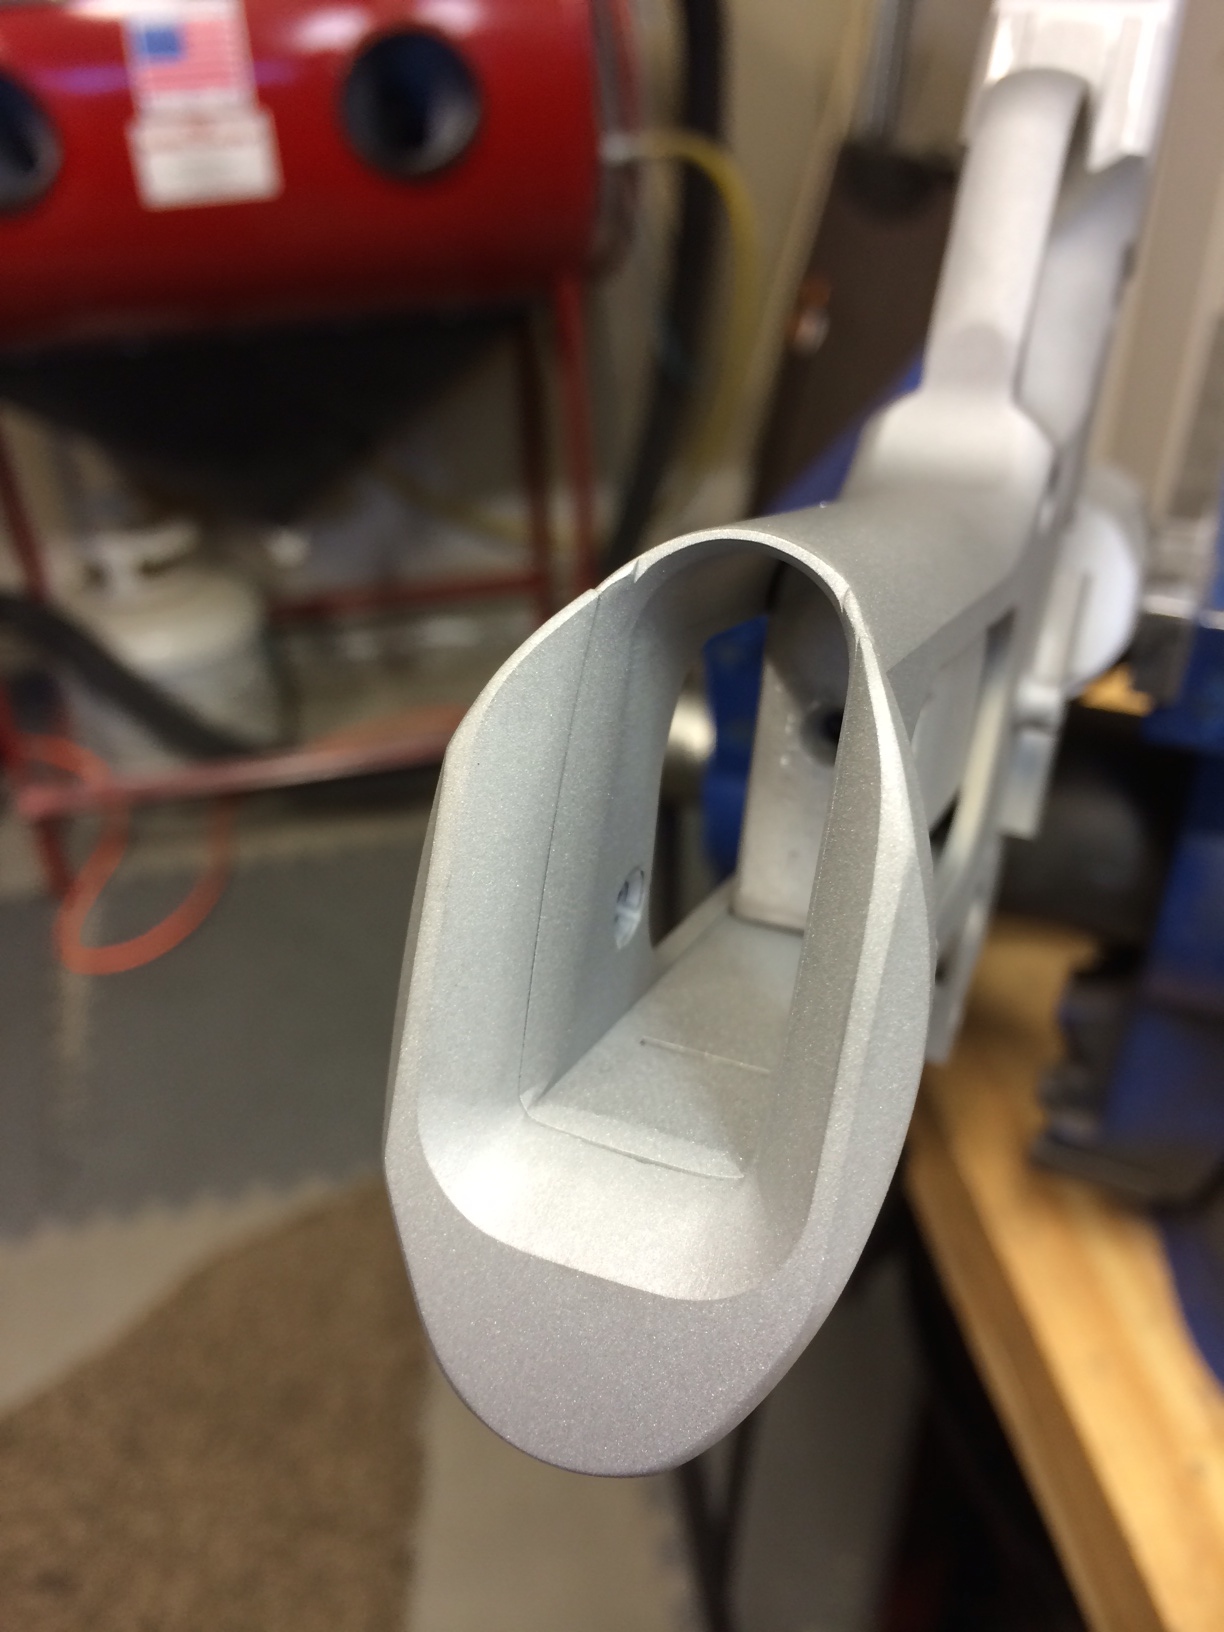
A few pics of magwell fitting and blending. A lot of material needs to be removed.
Starting to remove metal.
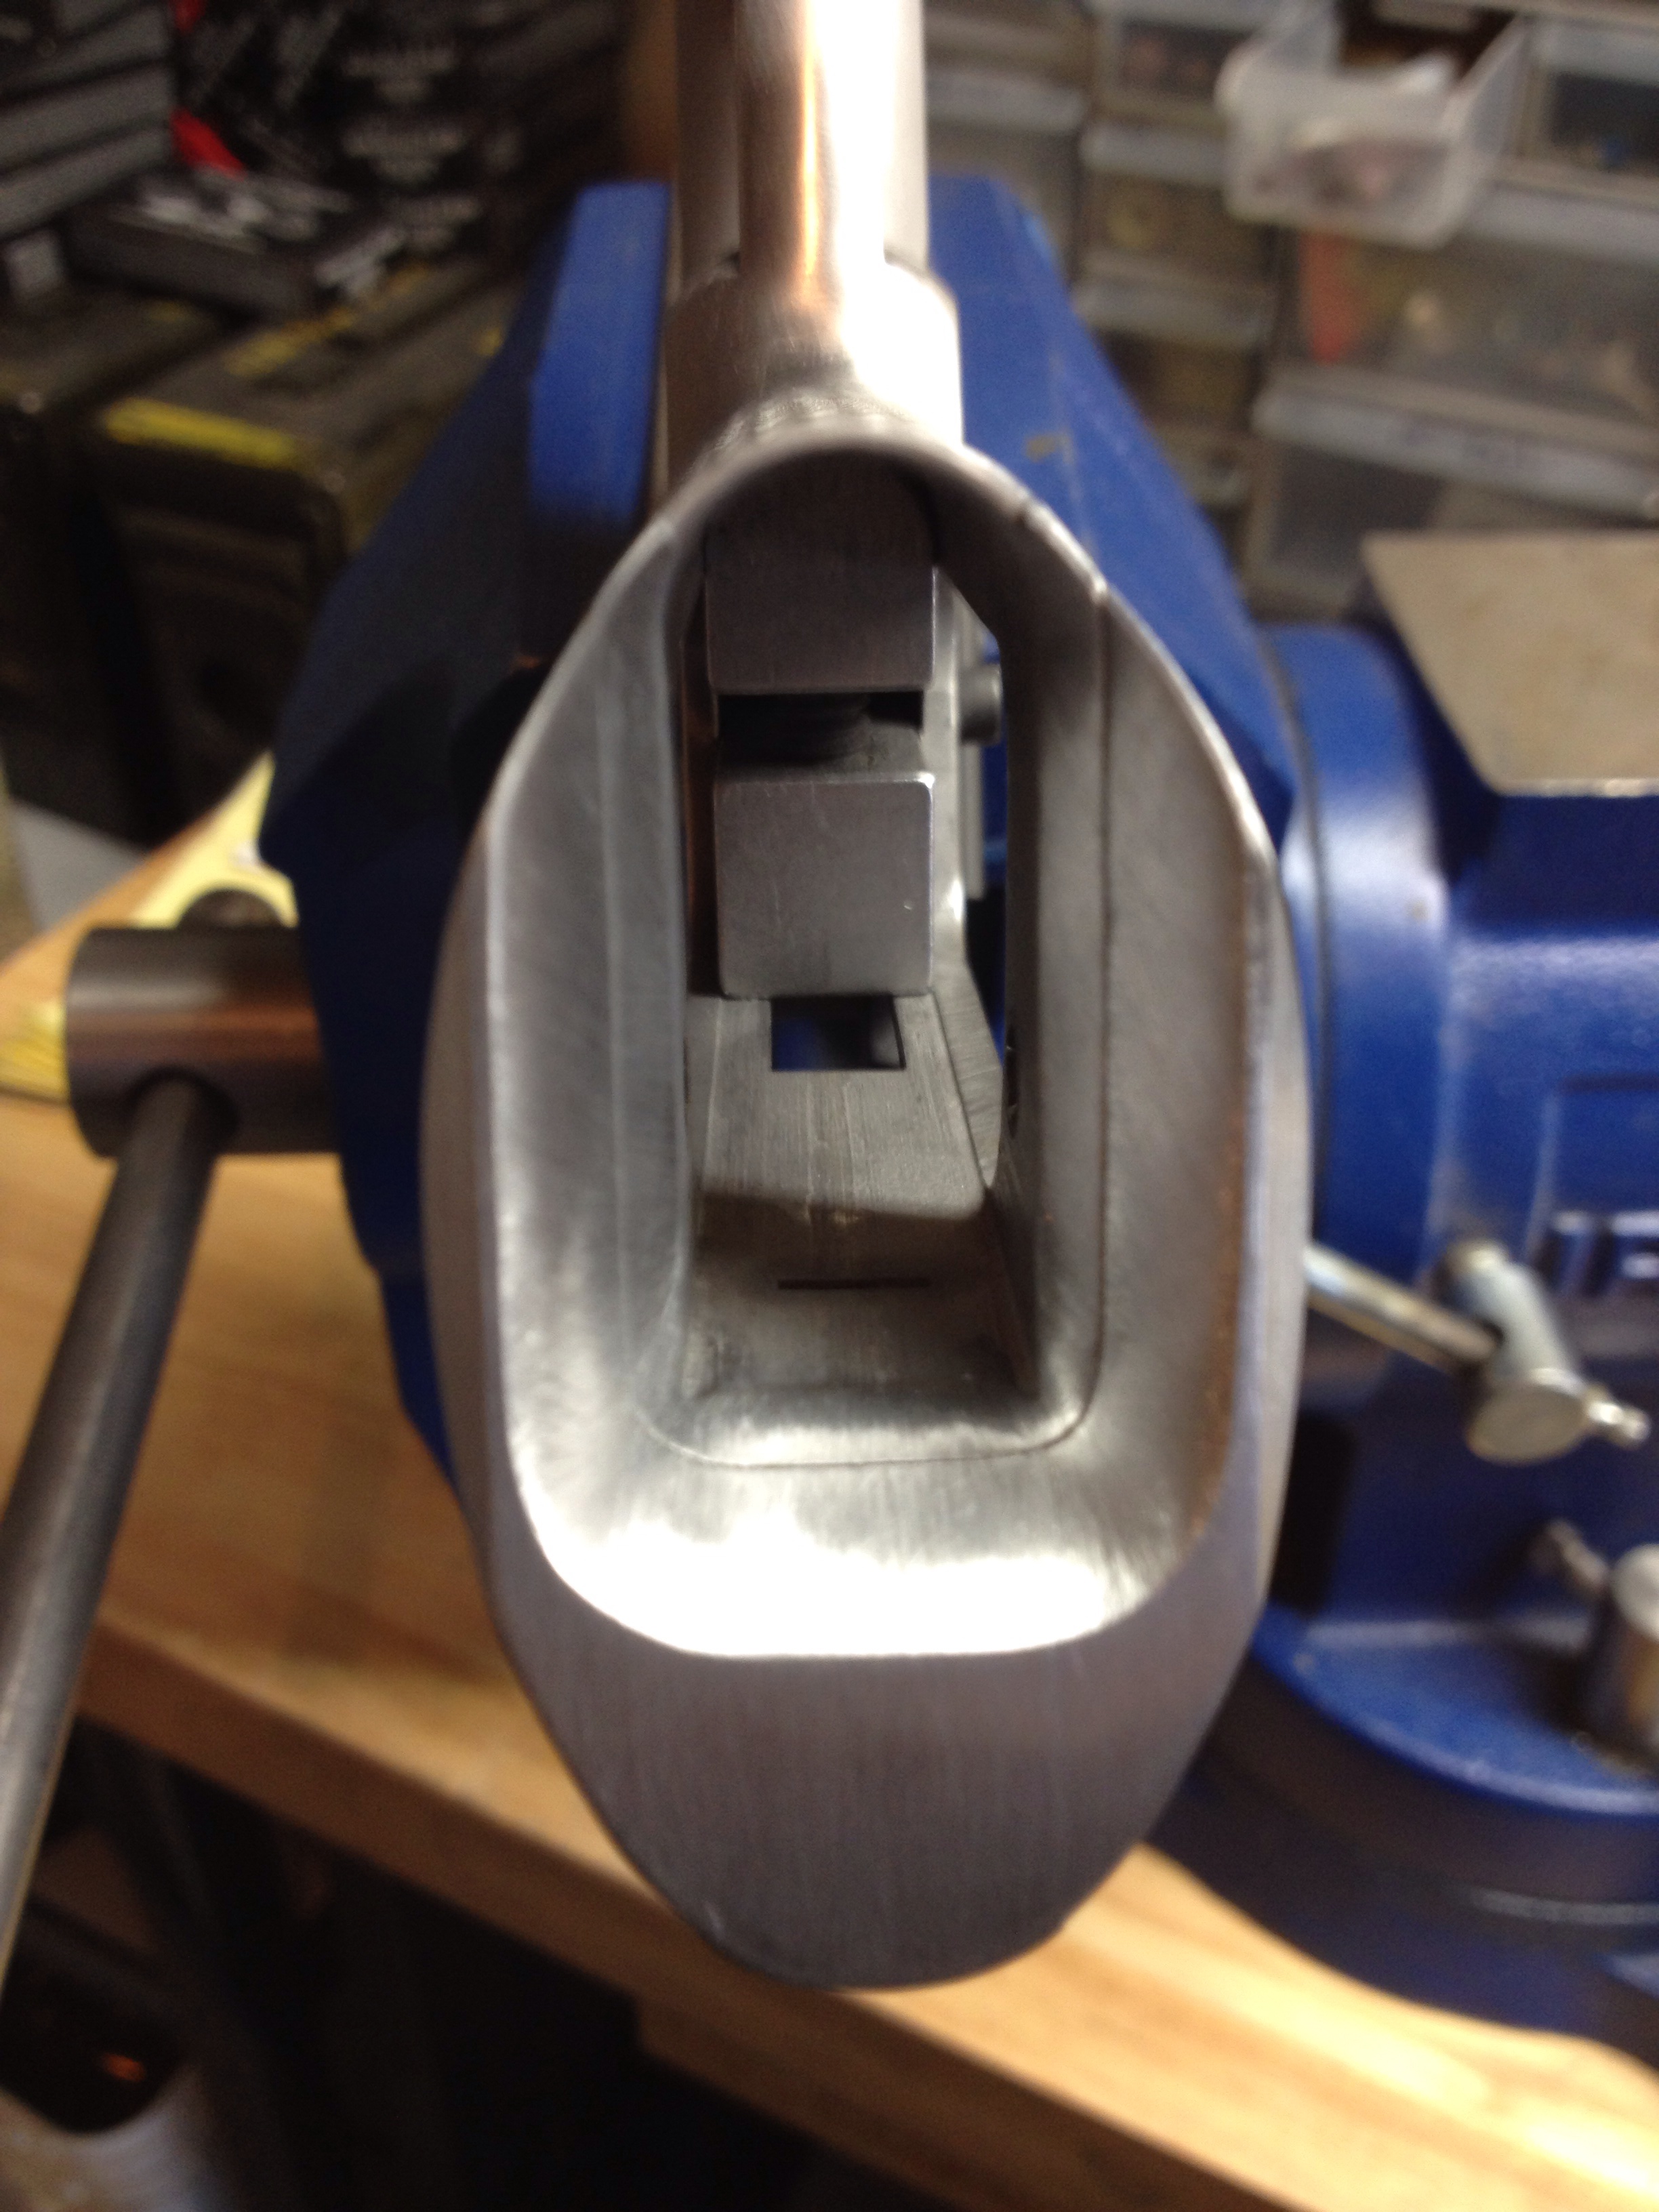
Now it’s starting to take shape. Notice the no-gap fit to the frame. This is because I purchase S&A mag guides that do not have the mainspring pin hole drilled yet. I prefer drilling the pin hole to the specific frame being used for a perfect fit.
Here is another finished magwell. This one has a separate aluminum mainspring housing that can quickly be swapped when carrying the weapon.